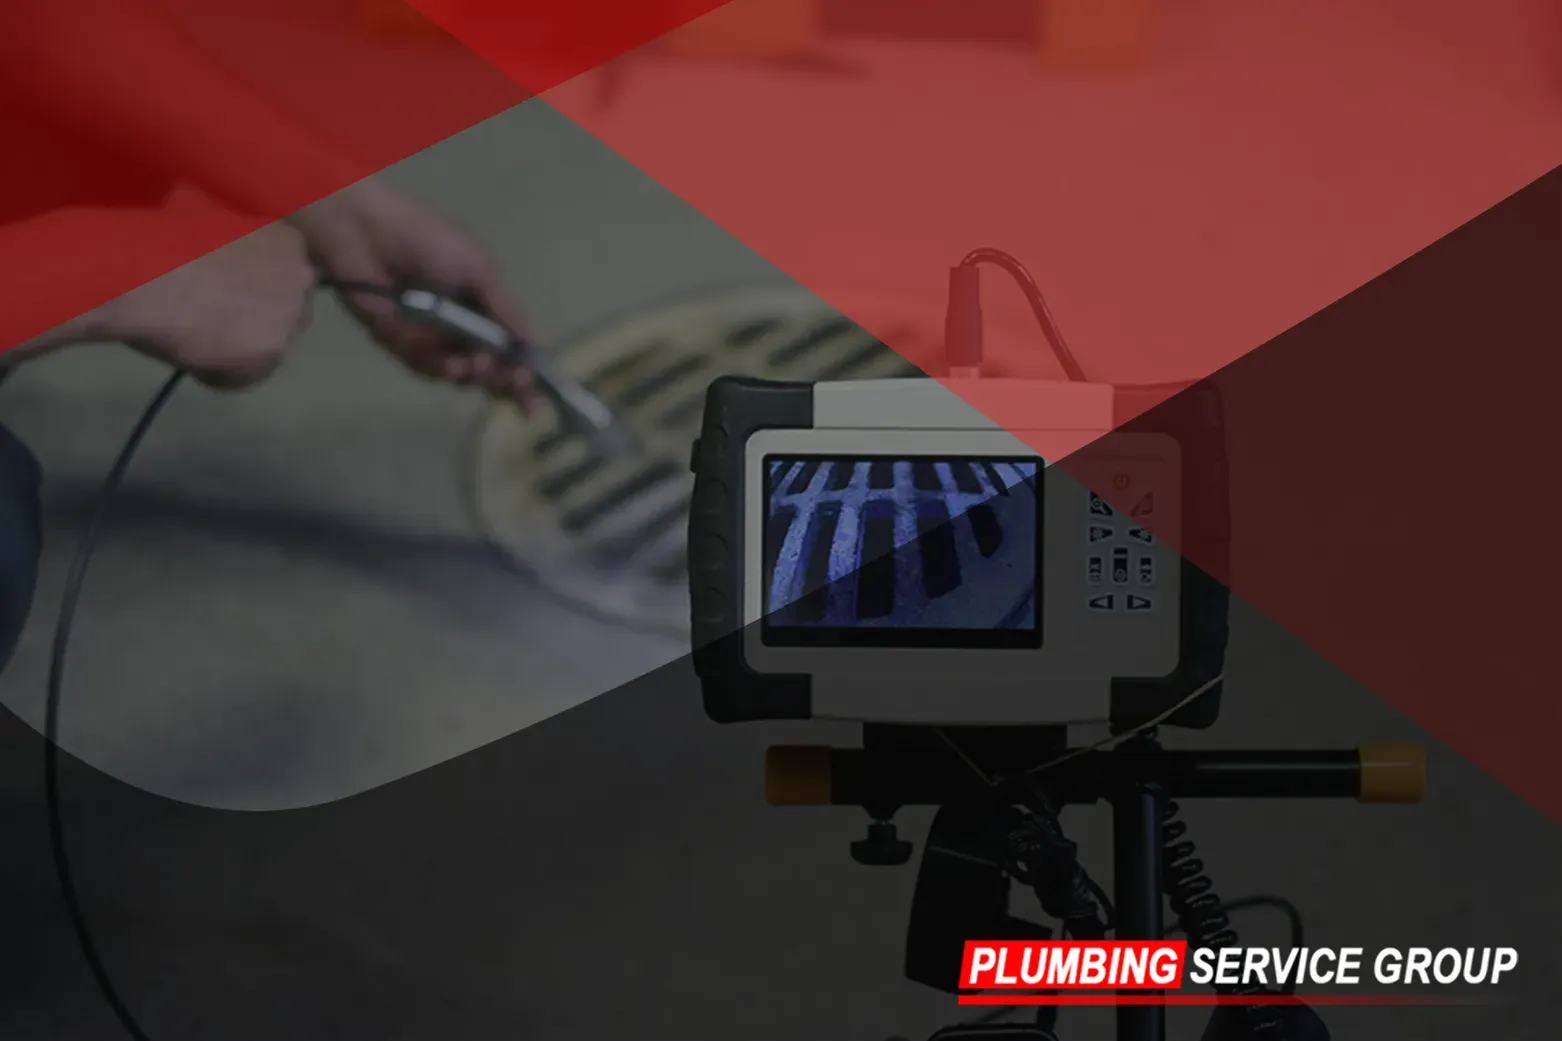
How to Plumb a Shower Drain Efficiently?
Embarking on a bathroom renovation or installing a new shower presents an exciting opportunity to elevate your home's functionality and aesthetics. Central to this process is the proper installation of the shower drain—an essential component that ensures efficient water drainage and prevents leaks. In this comprehensive guide, Plumbing Service Group provides expert insights and step-by-step instructions on how to plumb a shower drain effectively, empowering you to achieve professional-grade results and enhance the comfort and functionality of your bathroom.
Understanding the Importance of Proper Drain Installation
Before delving into the intricacies of shower drain plumbing, it's crucial to grasp the significance of proper installation:
Water Drainage:
A well-plumbed shower drain serves as the unsung hero of your bathroom, facilitating the swift and efficient removal of water. With each shower, gallons of water flow through the drain, and a properly installed system ensures that this water is swiftly whisked away. Efficient water drainage not only prevents unsightly pooling but also minimizes the risk of water damage to surrounding surfaces, such as flooring and walls. By directing water away from vulnerable areas, a properly plumbed shower drain helps safeguard your bathroom against the perils of moisture and mold growth.
Leak Prevention:
One of the primary functions of a shower drain is to provide a secure and watertight seal, guarding against leaks that can wreak havoc on your home. Improperly sealed or installed drains can allow water to seep into subflooring, walls, and ceilings, leading to structural damage and mold infestations. Proper installation techniques, including meticulous sealing and alignment, are essential to creating a robust barrier against leaks. By investing in quality materials and craftsmanship, you can enjoy peace of mind knowing that your shower drain is fortified against the threat of water intrusion.
Optimal Functionality:
Beyond mere functionality, a well-plumbed shower drain contributes to the overall usability and enjoyment of your shower experience. Proper slope and alignment ensure that water flows effortlessly toward the drain, minimizing standing water and enhancing user comfort. Additionally, a correctly installed drain promotes efficient drainage, preventing unpleasant odors and bacterial growth within the plumbing system. By prioritizing precision and attention to detail during installation, you not only enhance the functionality of your shower but also prolong the lifespan of your plumbing infrastructure.
In essence, the importance of proper drain installation cannot be overstated. From facilitating water drainage to safeguarding against leaks and optimizing functionality, a meticulously installed shower drain is essential for the long-term integrity and performance of your bathroom. By entrusting your plumbing needs to Plumbing Service Group, you can rest assured that your shower drain will be expertly installed with precision and care, ensuring years of reliable service and peace of mind.
Step-by-Step Guide: How to Plumb a Shower Drain
Now, let's embark on the journey of plumbing a shower drain with precision and expertise, ensuring a robust and reliable installation that stands the test of time:
Step 1: Prepare the Drain Opening
Prepare the foundation for your shower drain installation with meticulous attention to detail:
- Remove Debris: Begin by clearing any debris or obstructions from the drain opening using a sturdy brush or vacuum. This ensures unimpeded access for the installation process and promotes a seamless fit.
- Clean Surfaces: Thoroughly clean the surrounding area around the drain opening to eliminate dirt, grime, and residue. Use a degreaser or solvent to dissolve stubborn buildup, ensuring a pristine surface for optimal adhesion and sealing later on.
Step 2: Install the Drain Assembly
Proceed with precision as you install the essential components of the shower drain assembly:
- Apply Sealant: Apply a liberal coat of waterproof sealant around the underside of the drain flange. This sealant acts as a barrier against water infiltration, ensuring a watertight seal between the drain assembly and the shower base or floor.
- Insert the Drain: Carefully insert the drain assembly into the prepared opening, ensuring proper alignment and orientation. Press firmly to seat the drain flange flush against the shower base or floor, eliminating any gaps or unevenness.
- Secure in Place: Secure the drain assembly using the provided fasteners or locking mechanism. Tighten the screws or bolts evenly to distribute pressure evenly and prevent distortion or misalignment.
Step 3: Connect Drain Piping
With the foundation laid, proceed to connect the drain piping with precision and accuracy:
- Cut Piping to Size: Measure and mark the drain piping to the appropriate length using a PVC cutter or hacksaw. Ensure precise cuts to achieve a snug fit between the drain assembly and the plumbing system.
- Apply Adhesive: Apply PVC primer to the ends of the drain piping and the corresponding connections on the drain assembly. Follow up with PVC cement to create a secure and durable bond that withstands water pressure and temperature fluctuations.
- Secure Connections: Insert the drain piping into the designated connections on the drain assembly, twisting gently to ensure a tight and secure fit. Wipe away any excess adhesive with a clean rag to maintain a tidy and professional finish.
Step 4: Test for Leaks
Prioritize thoroughness as you verify the integrity of your installation through comprehensive leak testing:
- Fill with Water: Pour water into the shower basin or directly into the drain, allowing it to flow freely through the plumbing system. Monitor the water level closely to detect any signs of leakage or seepage.
- Inspect for Leaks: Conduct a methodical visual inspection of the drain assembly and surrounding areas for any indications of water leakage or moisture accumulation. Pay particular attention to joints, seals, and connections, addressing any areas of concern promptly.
- Address Any Issues: In the event of leaks or seepage, identify and address the underlying causes immediately. Reapply sealant, tighten connections, or replace damaged components as necessary to rectify the issue and restore the integrity of the installation.
Step 5: Seal and Finish
Complete the installation process with finesse, ensuring a polished and professional appearance:
- Apply Grout or Caulk: Apply a bead of waterproof grout or silicone caulk around the perimeter of the drain assembly to seal any gaps and provide additional protection against moisture infiltration. Choose a color that complements your shower design for a seamless integration.
- Smooth and Finish: Use a damp cloth or sponge to smooth and blend the grout or caulk, achieving a uniform and aesthetically pleasing finish. Pay attention to detail, ensuring crisp lines and minimal excess for a flawless presentation.
Elevate Your Shower Experience with Expert Drain Plumbing
By following these expert-guided steps for plumbing a shower drain, you can ensure your shower system's seamless operation, longevity, and reliability. Whether embarking on a bathroom renovation or installing a new shower, Plumbing Service Group empowers you with the knowledge and expertise to achieve professional-grade results and enhance the comfort and functionality of your home. For all your plumbing needs and expert guidance, trust Plumbing Service Group—the premier choice for exceptional service and reliable solutions.