How to Increase Water Pressure in Shower?
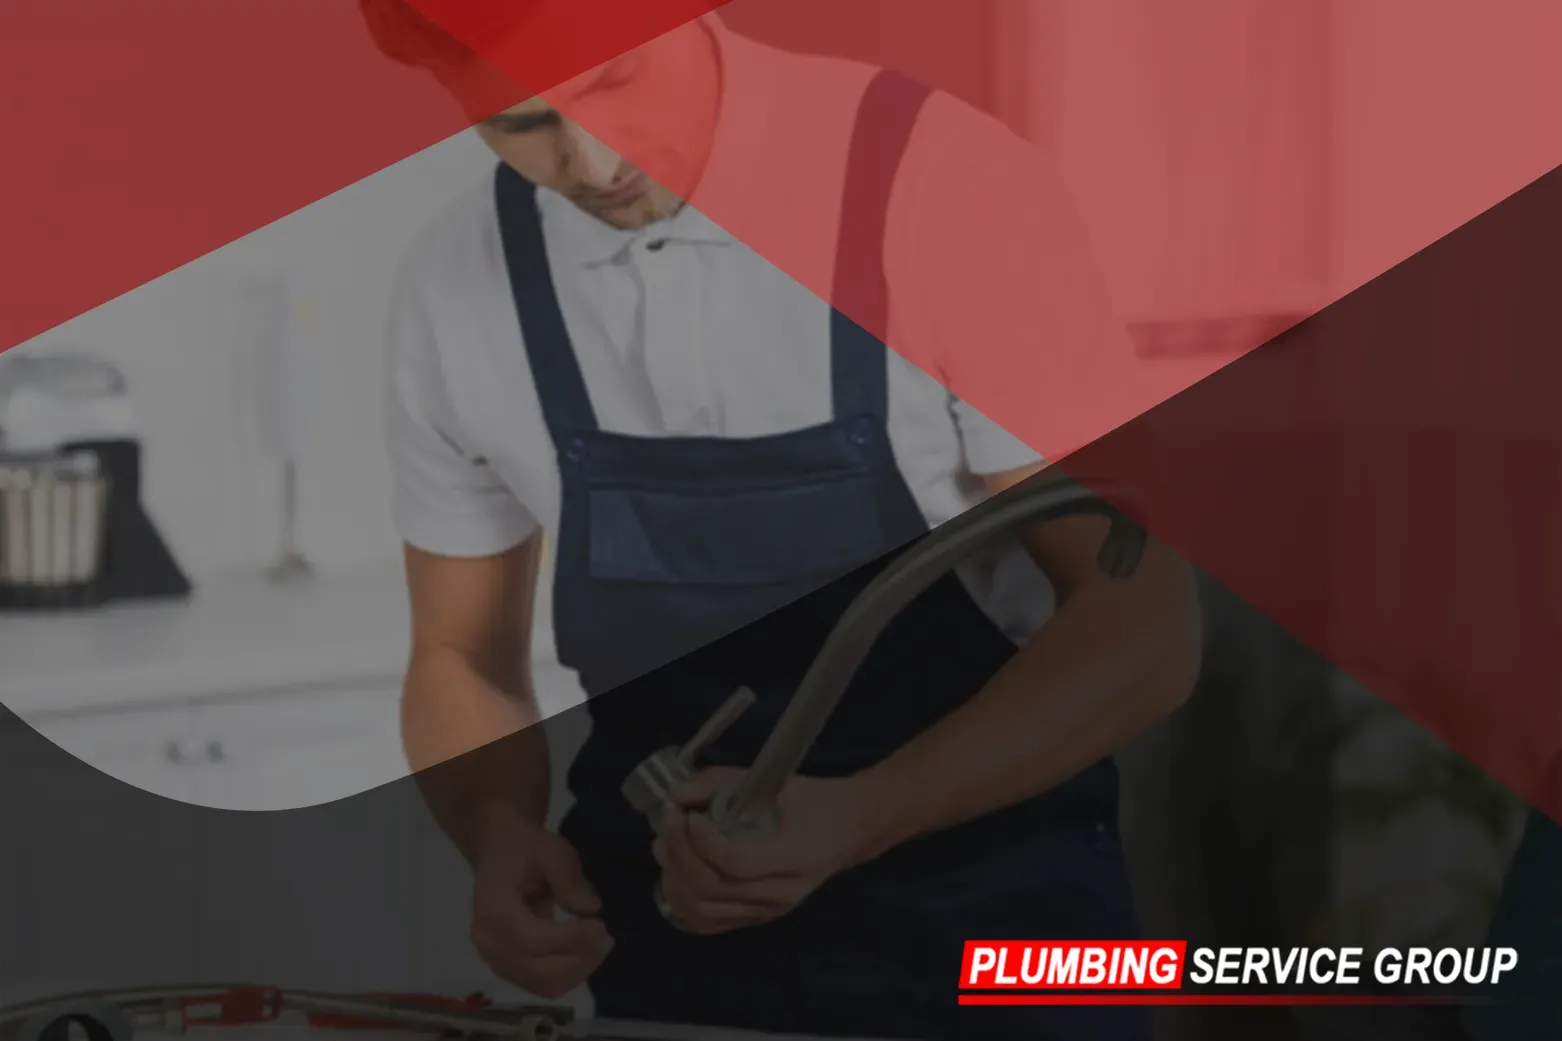
Are you tired of dealing with weak water pressure in your shower? Low water pressure can be frustrating, affecting your shower experience and making it difficult to rinse away soap and shampoo effectively. Fortunately, there are several solutions available to help increase water pressure in your shower and enhance your bathing experience. As the trusted experts at Plumbing Service Group, we're here to share our top tips for boosting water pressure in your shower and enjoying a more invigorating showering experience.
Expert Tips
Check for Clogs and Blockages:
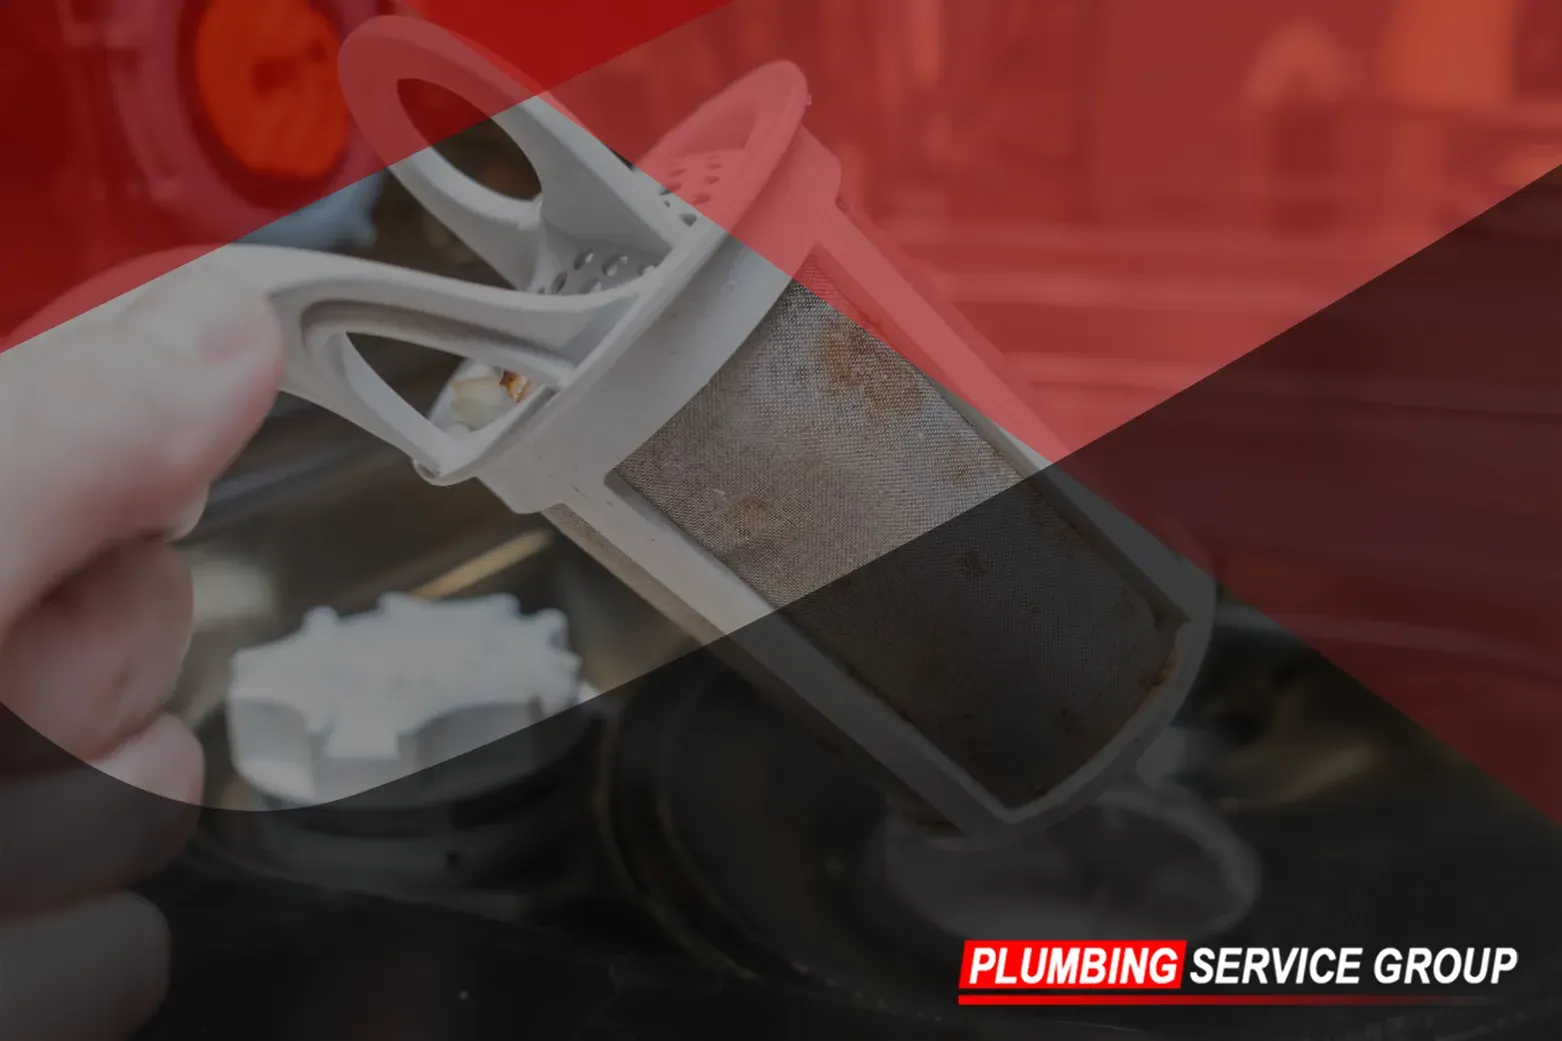
When it comes to low water pressure in showers, clogs and blockages are often the culprits. Mineral deposits, sediment, and debris can accumulate in pipes and showerheads over time, impeding the flow of water and leading to reduced water pressure. To tackle this common issue of clogs effectively, follow these steps:
- Remove and Inspect the Showerhead: Begin by removing the showerhead from the shower arm, the pipe that protrudes from the wall. Use an adjustable wrench or pliers to loosen and unscrew the showerhead from the shower arm. Once removed, inspect the showerhead for any visible buildup or blockages.
- Clean the Showerhead: To clean the showerhead and remove any accumulated debris or mineral deposits, prepare a descaling solution or use plain vinegar. Submerge the showerhead in the solution or vinegar, ensuring that all nozzles and openings are fully covered. Allow the showerhead to soak for at least 30 minutes to dissolve the buildup effectively.
- Scrub and Rinse: After soaking, use a soft-bristled brush or an old toothbrush to gently scrub the surface of the showerhead, focusing on any stubborn deposits or clogs. Pay particular attention to the openings and nozzles, ensuring that they are clear and free of any obstruction. Once scrubbed, rinse the showerhead thoroughly with warm water to remove any loosened debris.
- Reattach the Showerhead: Once the showerhead is clean and free of buildup, reattach it to the shower arm by screwing it back on securely. Use an adjustable wrench or pliers to tighten the connection, taking care not to overtighten and damage the threads.
- Test the Water Pressure: Turn on the shower to test the water pressure and flow. If the water pressure has improved and the flow is more consistent, you've successfully addressed the clogs and blockages in the showerhead. If not, consider further steps to troubleshoot and address any remaining issues.
In addition to cleaning the showerhead, it's also essential to inspect and clean the pipes leading to the shower to ensure that they are free of any obstructions or buildup. If you continue to experience low water pressure after cleaning the showerhead, consider consulting a professional plumber to assess the plumbing system and identify any underlying issues. By addressing clogs and blockages promptly, you can restore optimal water flow and enjoy a satisfying shower experience once again.
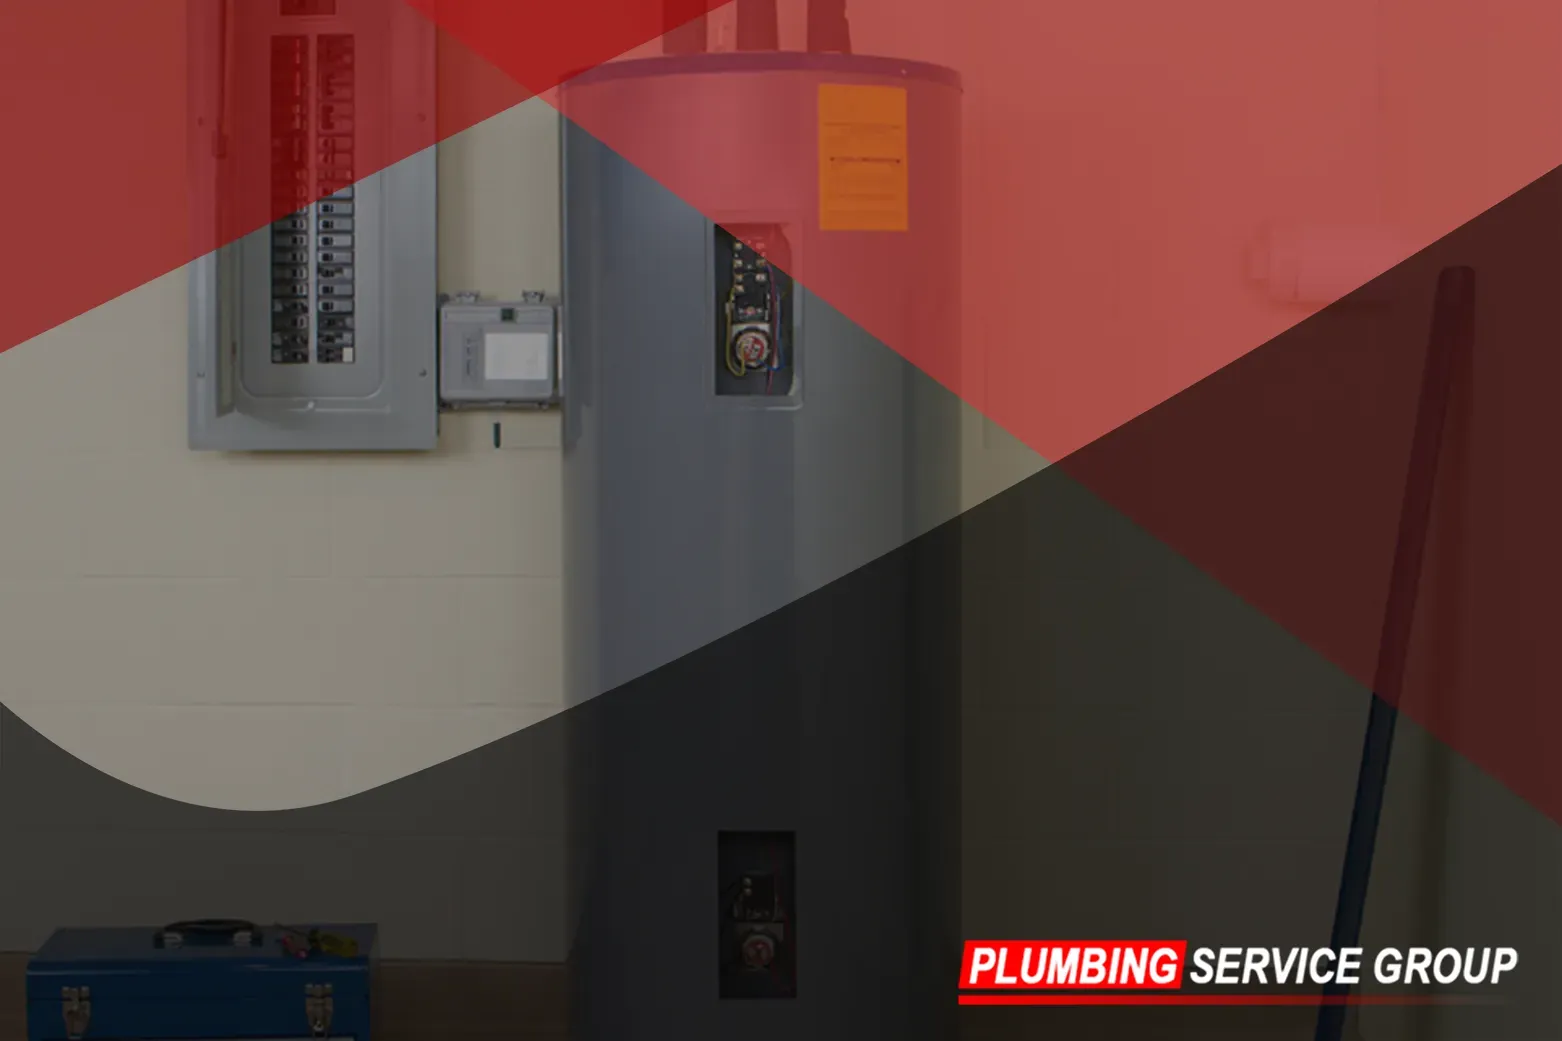
Adjusting the Pressure Regulator Valve:
The pressure regulator valve (PRV) is a critical component of your home's plumbing system, responsible for controlling the flow of water from the main supply line into your property. If the pressure regulator valve is set too low, it can lead to decreased water pressure throughout your home, including in the shower. To address this issue and increase water pressure in your shower, follow these steps:
- Locate the Pressure Regulator Valve: The pressure regulator valve is typically located near the main water shut-off valve, often found where the main water supply line enters your home. It may resemble a bell-shaped device or a cylindrical housing with a screw or knob for adjusting the pressure.
- Turn Off the Main Water Supply: Before adjusting the pressure regulator valve, it's essential to turn off the main water supply to your home to prevent any accidents or water damage. Locate the main water shut-off valve, which is usually located near the water meter or where the main water line enters your home, and turn it clockwise to shut off the water flow.
- Access the Pressure Regulator Valve: Once the main water supply is turned off, locate the pressure regulator valve and remove any covers or protective caps that may be covering it. You may need a wrench or pliers to loosen and remove these covers.
- Adjust the Pressure Setting: Using a screwdriver or adjustable wrench, carefully turn the adjustment screw or knob on the pressure regulator valve clockwise to increase the water pressure. Start by making small adjustments and testing the water pressure in your shower after each adjustment to achieve the desired level.
- Test the Water Pressure: With the pressure regulator valve adjusted, turn the main water supply back on and test the water pressure in your shower. If the water pressure has improved to your satisfaction, you've successfully adjusted the pressure regulator valve. If not, continue making small adjustments until the desired water pressure is achieved.
- Replace the Cover: Once you're satisfied with the water pressure, replace any covers or protective caps on the pressure regulator valve and ensure that they are securely tightened.
It's important to note that adjusting the pressure regulator valve requires careful attention and precision to avoid over-pressurizing the plumbing system. If you're unsure how to adjust the pressure regulator valve safely or if you encounter any difficulties, it's best to consult a professional plumber for assistance. A qualified plumber can assess your plumbing system, make any necessary adjustments, and ensure that your water pressure is optimized for a satisfying shower experience.
Installing a High-Pressure Showerhead:
Upgrading to a high-pressure showerhead presents an excellent solution for those seeking an immediate enhancement in their showering experience. These specially designed showerheads are crafted to amplify the velocity of water flow, delivering a revitalizing and invigorating shower session. Here's a detailed guide on how to install a high-pressure showerhead:
- Choose the Right Showerhead: When selecting a high-pressure showerhead, opt for models explicitly labeled as "high pressure" or "low flow." These showerheads are engineered to maximize water pressure while conserving water usage. Additionally, consider models with adjustable settings, allowing you to tailor the water pressure according to your preferences.
- Remove the Existing Showerhead: Begin the installation process by removing the existing showerhead from the shower arm. Utilize an adjustable wrench or pliers to loosen and unscrew the showerhead from the shower arm, which is the pipe extending from the wall.
- Apply Thread Seal Tape: Before installing the new high-pressure showerhead, wrap the threads of the shower arm with thread seal tape to create a secure and watertight seal. This step helps prevent leaks and ensures a smooth installation process.
- Install the New Showerhead: With the thread seal tape in place, securely attach the new high-pressure showerhead to the shower arm by screwing it on clockwise. Use a wrench or pliers to tighten the connection, ensuring a snug fit without over-tightening.
- Adjust the Settings: Once the high-pressure showerhead is installed, test the water pressure and adjust the settings as needed. Experiment with different spray patterns and pressure levels to find the optimal combination that suits your preferences.
- Enjoy the Enhanced Shower Experience: With the installation complete, revel in the revitalizing sensation of your new high-pressure showerhead. Experience the heightened water pressure and invigorating showering experience that it provides, leaving you feeling refreshed and rejuvenated.
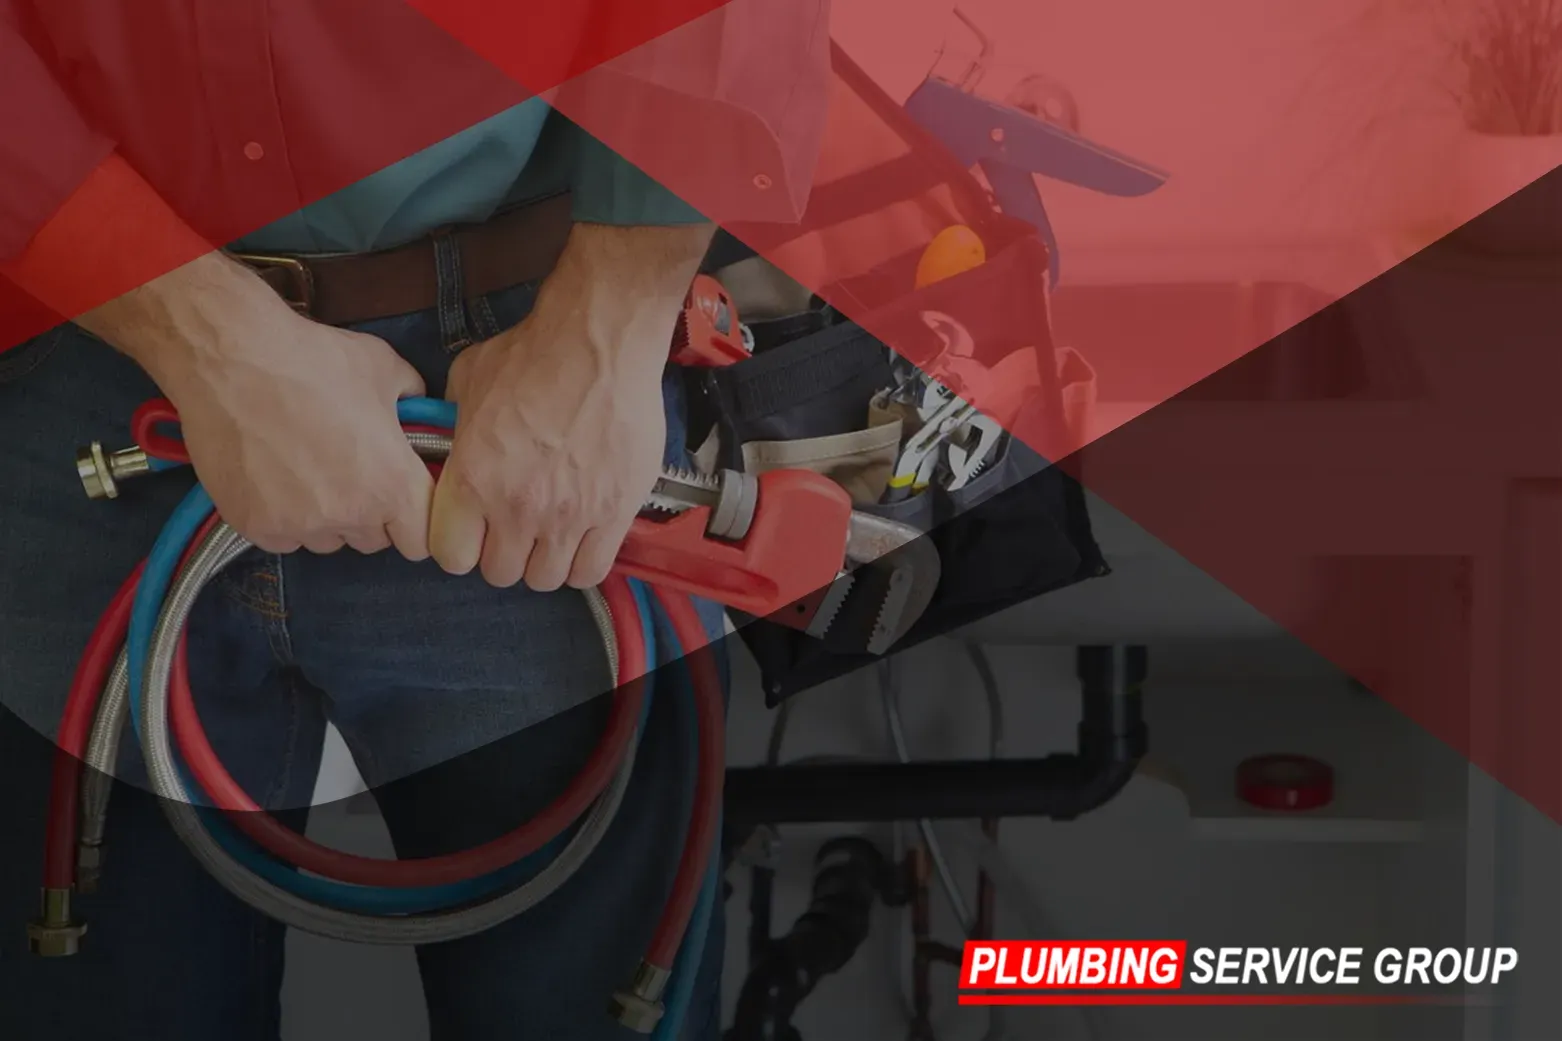
Cleaning or Replacing the Shower Valve:
The shower valve plays a crucial role in regulating the flow of water from the pipes to the showerhead. Over time, it can succumb to issues such as clogs, mineral buildup, or wear and tear, resulting in diminished water pressure. Here's a comprehensive guide on how to clean or replace the shower valve to restore optimal water pressure:
- Remove the Shower Valve Cover: Begin by locating the shower valve, which is typically concealed behind a cover or panel in the shower wall. Use a screwdriver or hex key to remove the screws securing the cover and carefully detach it from the wall.
- Inspect the Valve for Buildup: Once the valve cover is removed, inspect the valve for any signs of corrosion, mineral buildup, or damage. Pay close attention to the valve components, including the handle, stem, and cartridge, as these are common areas where buildup can occur.
- Clean the Valve Components: If you encounter any buildup or debris on the valve components, clean them thoroughly using a brush and a solution of vinegar and water. Scrub the affected areas gently to remove any deposits and restore proper functionality to the valve.
- Test the Valve Operation: After cleaning the valve components, test the valve's operation by turning the handle to adjust the water flow. Ensure that the valve operates smoothly and that there are no signs of sticking or resistance.
- Consider Replacement: If the shower valve is severely damaged or if cleaning fails to resolve the issue, it may be necessary to replace the valve entirely. Consult a professional plumber to assess the situation and determine the best course of action for replacing the shower valve.
- Reassemble and Test: Once the cleaning or replacement process is complete, reassemble the shower valve components and securely attach the valve cover to the wall. Test the valve operation one final time to ensure that water flows smoothly and that water pressure is restored to the desired level.
By following these steps to install a high-pressure showerhead and clean or replace the shower valve, you can effectively increase water pressure in your shower and enjoy a more satisfying and rejuvenating showering experience. If you encounter any difficulties during the installation or maintenance process, don't hesitate to seek assistance from a professional plumber to ensure optimal results.
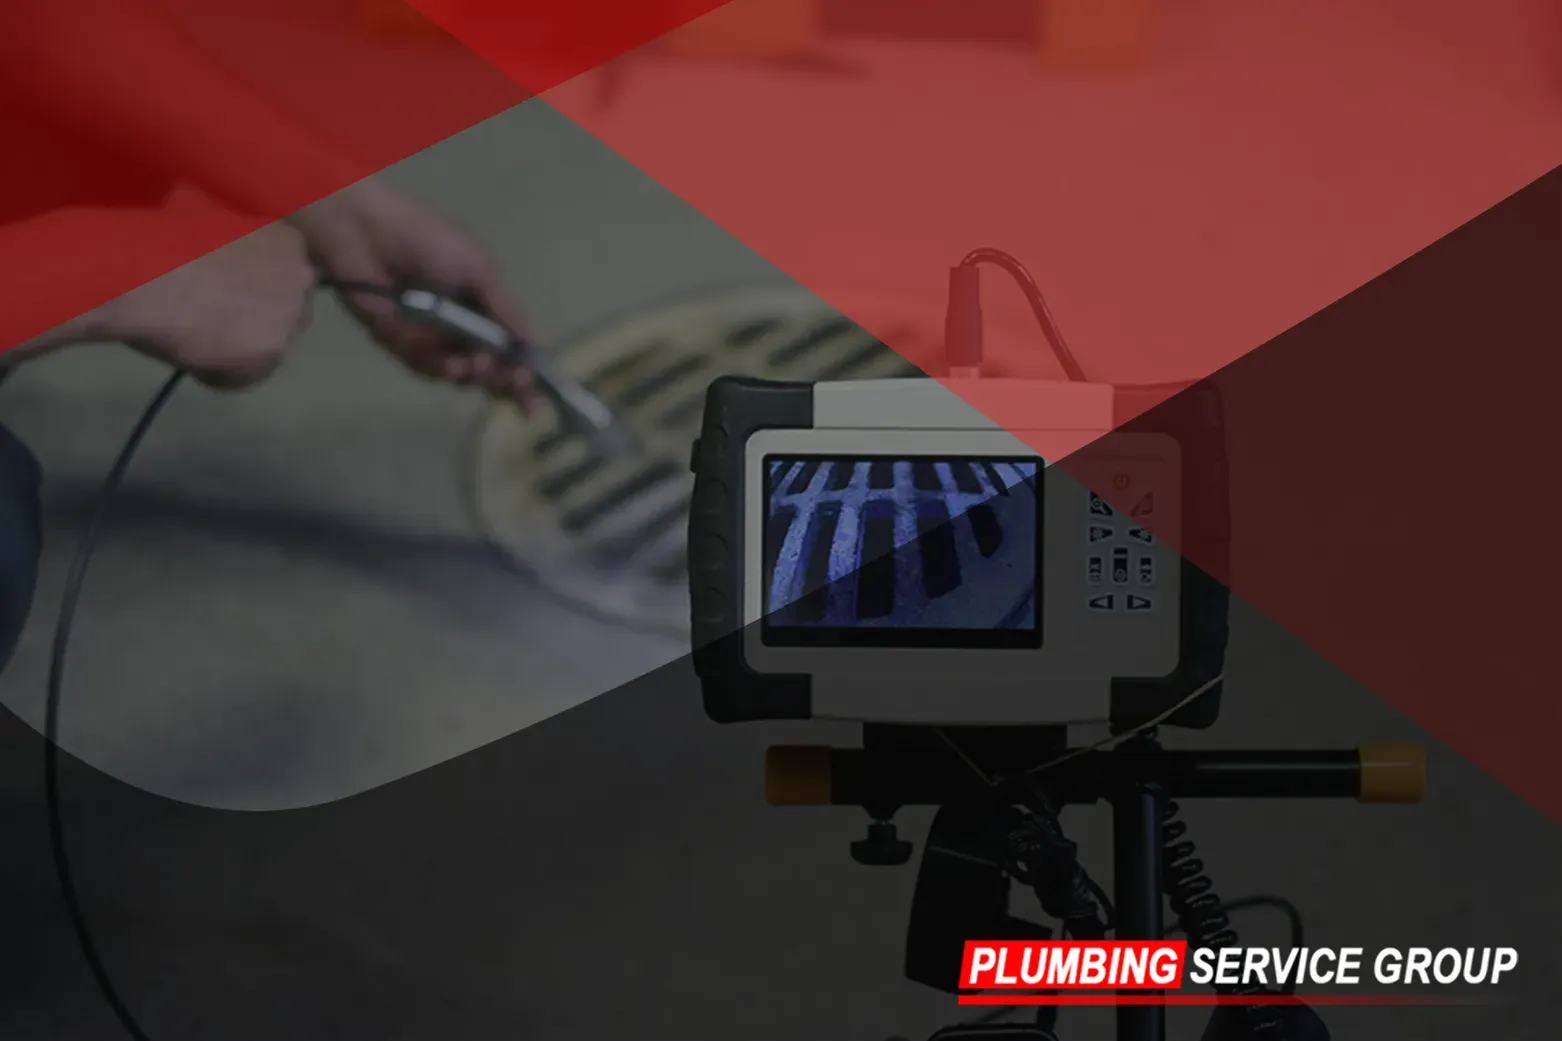
Checking for Leaks in the Plumbing System:
Undetected leaks within the plumbing system can wreak havoc on water pressure, diverting water away from its intended path and leading to a reduction in pressure at the showerhead. Here's how to effectively check for and address leaks in your plumbing system to restore optimal water pressure in the shower:
- Visual Inspection: Conduct a thorough visual inspection of your plumbing system to identify any signs of leaks. Check for dripping faucets, pooling water around fixtures, damp spots on walls or ceilings, and discoloration or warping of surfaces. Additionally, keep an eye out for unusually high water bills, as they may indicate hidden leaks.
- Check Exposed Pipes: Inspect any exposed pipes in your home, such as those under sinks, behind appliances, and in the basement or crawl space. Look for signs of corrosion, rust, or moisture accumulation, as these may indicate the presence of leaks. Pay close attention to pipe joints and connections, as they are common areas where leaks occur.
- Test Water Meter: To detect hidden leaks that may not be visible to the naked eye, perform a simple test using your water meter. Turn off all water-using appliances and fixtures in your home and ensure that no water is being used. Take note of the reading on the water meter, wait for a few hours, and then check the meter again. If the meter reading has changed despite no water usage, it may indicate the presence of a hidden leak.
- Conduct Pressure Test: Another effective method for detecting leaks is to conduct a pressure test on your plumbing system. Shut off the main water supply to your home and attach a pressure gauge to an outdoor faucet or hose bib. Turn the water supply back on and observe the pressure gauge. If the pressure drops significantly over time, it may indicate a leak in the plumbing system.
- Repair Leaks Promptly: If you detect any leaks during your inspection, it's essential to address them promptly to prevent further water loss and damage. Depending on the severity and location of the leak, repairs may range from simple DIY fixes, such as replacing worn-out washers or tightening loose fittings, to more complex repairs that require professional assistance. Be sure to use appropriate tools and materials to ensure a durable and long-lasting repair.
By following these expert tips, you can increase the water pressure in your shower and enjoy a more satisfying and refreshing bathing experience. Whether you need to remove clogs, adjust the pressure regulator valve, install a high-pressure showerhead, clean or replace the shower valve, or fix leaks in the plumbing system, Plumbing Service Group is here to help. Our team of experienced plumbers is dedicated to providing top-quality plumbing solutions to meet your needs and exceed your expectations. Contact us today to schedule a consultation and learn more about how we can improve water pressure in your shower.