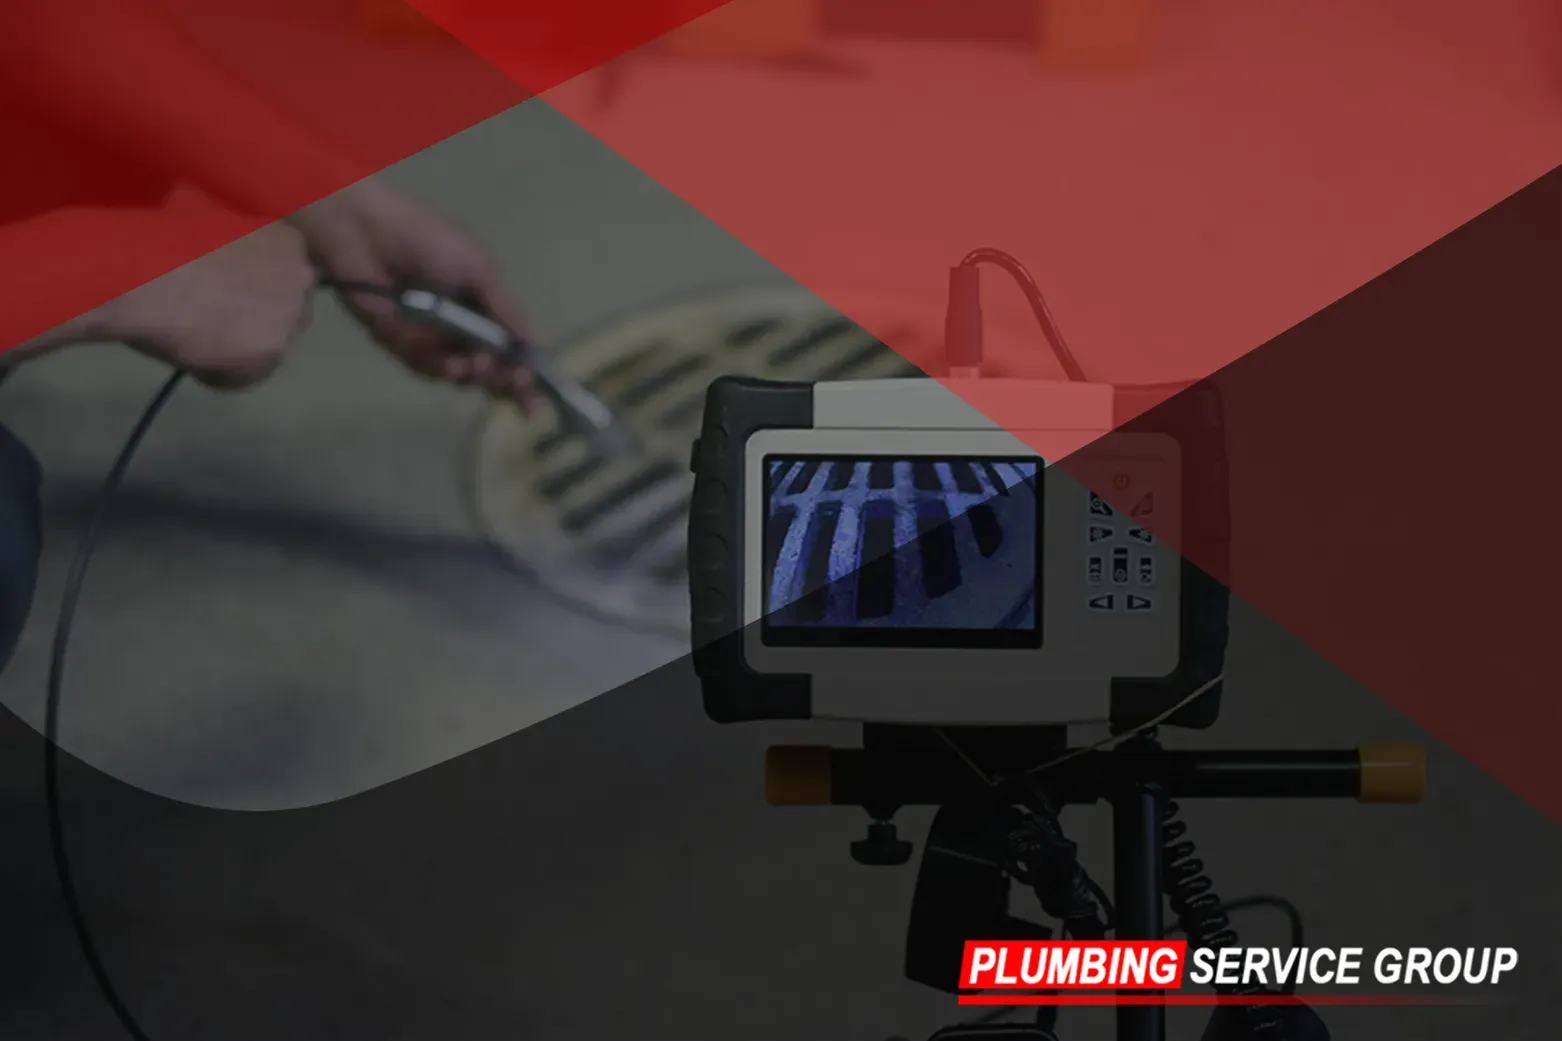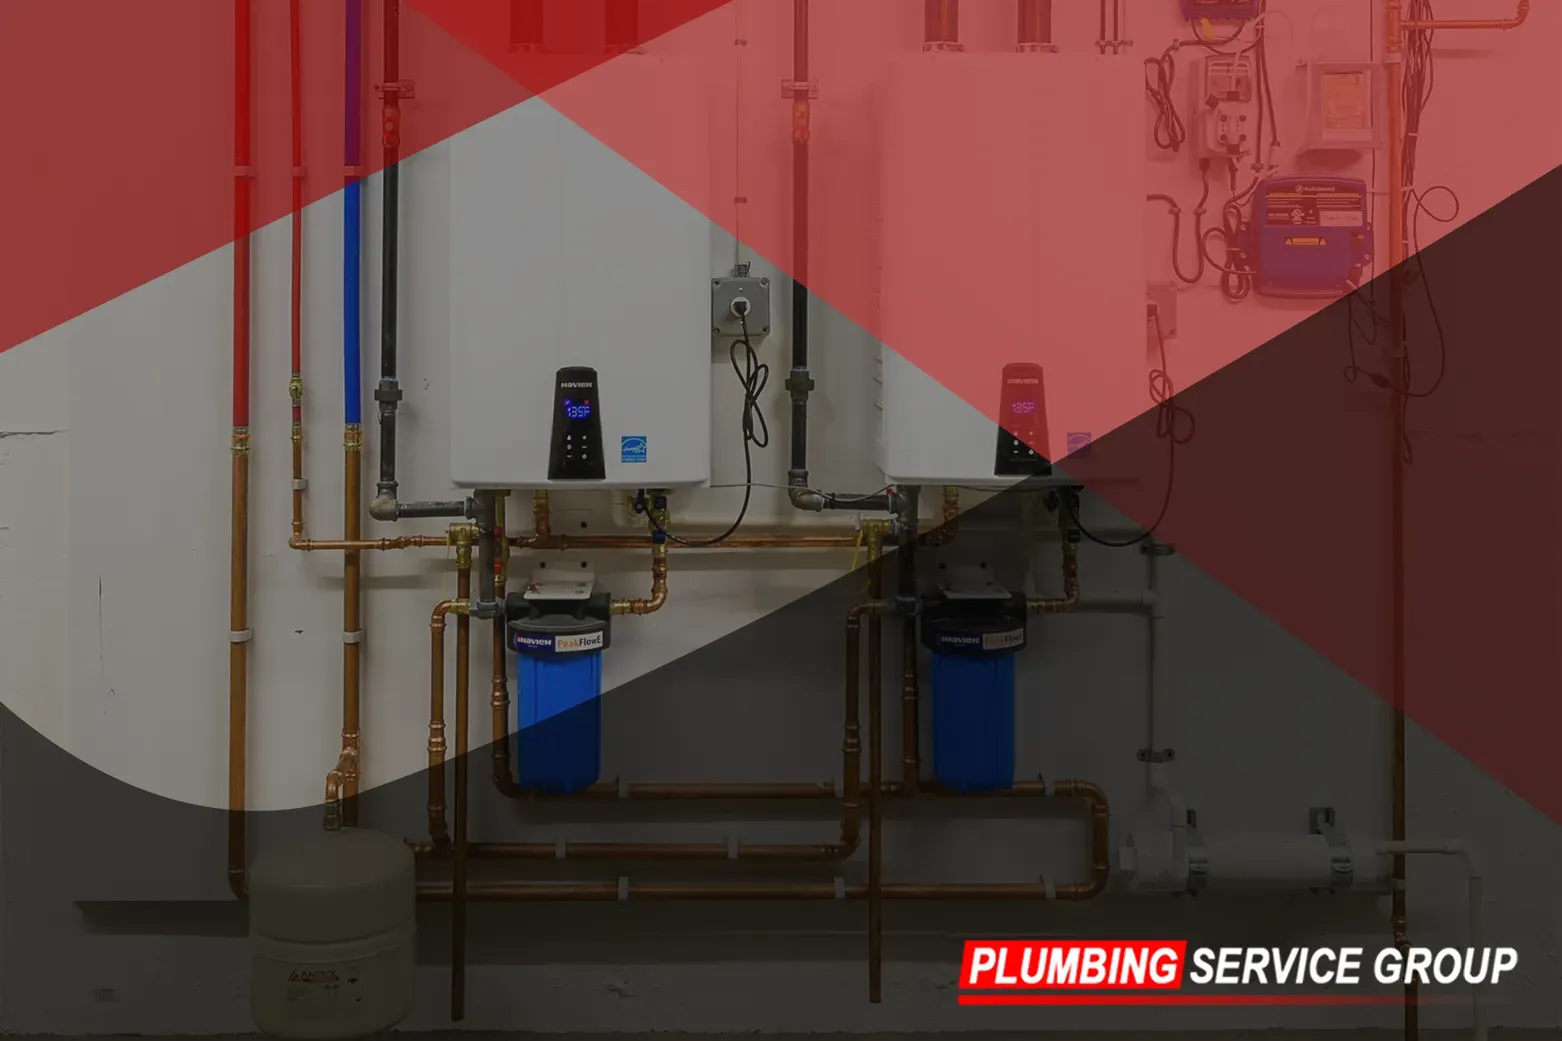
How to Drain a Hot Water Tank Safely and Efficiently?
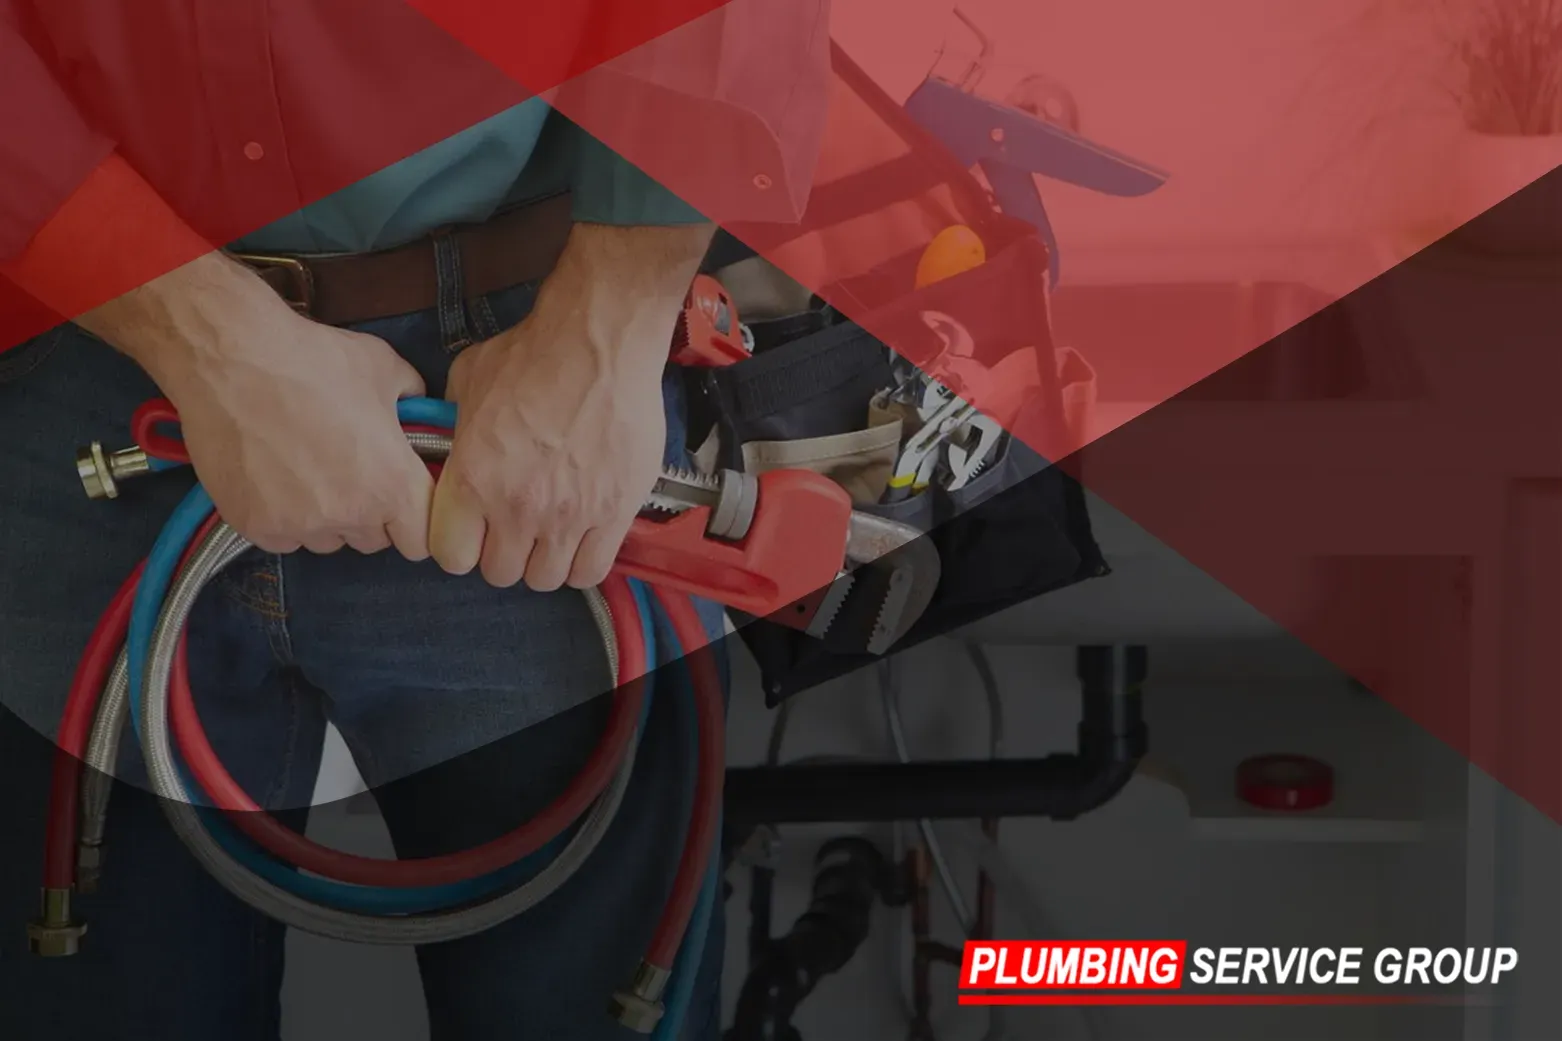
Draining a hot water tank is an essential maintenance task that helps to ensure the longevity and efficiency of your water heating system. Over time, sediment and mineral deposits can accumulate at the bottom of the tank, reducing its heating capacity and potentially leading to premature failure. As the leading experts in plumbing solutions, Plumbing Service Group is here to provide you with a comprehensive guide on how to drain a hot water tank safely and efficiently, ensuring optimal performance and reliability for years to come.
Step-by-Step Guide: How to Drain a Hot Water Tank
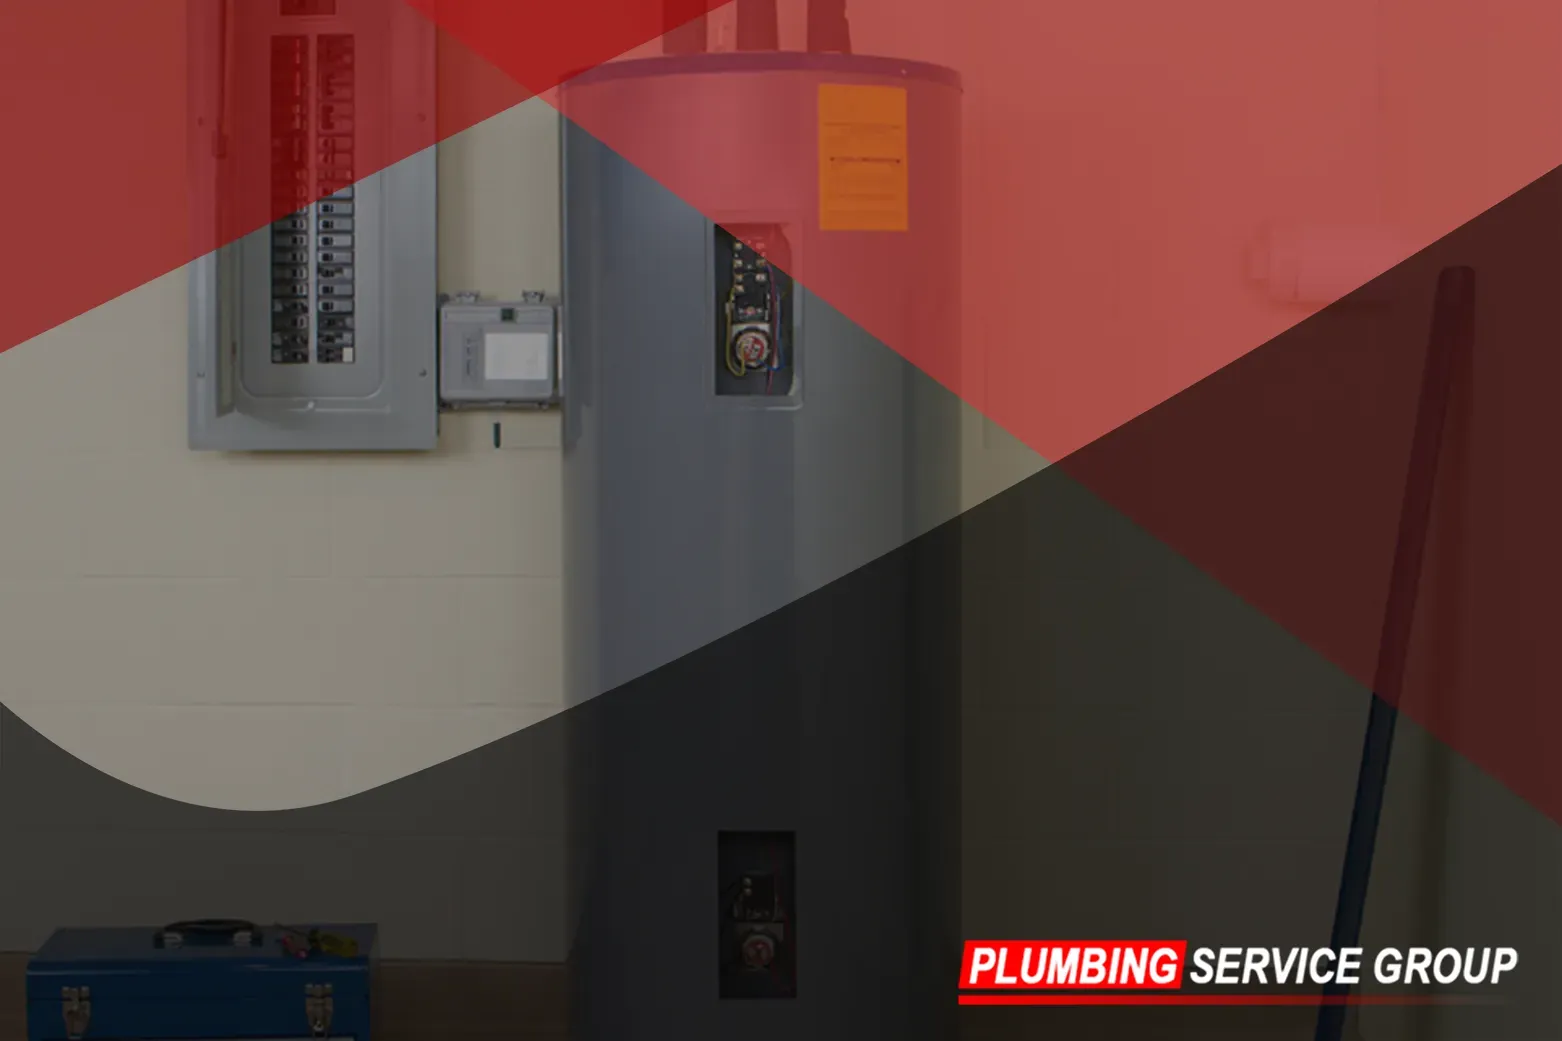
Step 1: Turn Off the Power
Before you start the process of draining your hot water tank, it's essential to prioritize safety by turning off the power supply. This step varies depending on the type of water heater you have:
For Electric Water Heaters: Locate the circuit breaker dedicated to your water heater in the electrical panel of your home. Switch off the circuit breaker to cut off the power supply to the water heater. This action ensures that the heating elements of the water heater won't turn on while the tank is being drained, minimizing the risk of accidents or damage.
For Gas Water Heaters: Locate the gas supply valve near the water heater and turn it off to shut off the gas supply. This prevents the burner from igniting and heating the water during the draining process, reducing the risk of accidents or gas leaks.
Taking these precautionary measures is crucial for your safety and the safety of your property. By cutting off the power source, you prevent any heating elements or burners from operating while you work on draining the tank, minimizing the risk of burns, scalding injuries, or damage to the water heater.
Step 2: Allow the Water to Cool
With the power supply turned off, it's time to allow the water inside the tank to cool down to a safe temperature before proceeding with the draining process. Hot water can cause severe burns and scalding injuries, so exercising caution and patience during this step is crucial.
To expedite the cooling process, you can open the hot water taps in your home and let them run until the water cools to a comfortable temperature. This action helps to draw hot water out of the tank and replace it with cooler water from the main supply, hastening the cooling process.
Be sure to monitor the temperature of the water carefully and wait until it's safe to touch before proceeding with the next steps. Rushing this process can lead to accidents or injuries, so take your time and prioritize safety above all else. Once the water has cooled down sufficiently, you're ready to move on to the next steps of draining your hot water tank.
Step 3: Locate the Drain Valve
After ensuring the safety of your surroundings and allowing the water to cool, the next step is to locate the drain valve on your hot water tank. The drain valve is typically situated near the base of the tank and resembles a hose bib or spigot. It may be labeled with the word "drain" or marked with a symbol indicating its function.
To find the drain valve, visually inspect the bottom of the water heater. You may need a flashlight to illuminate the area if it's dimly lit. Once you've located the drain valve, position a bucket or drain pan beneath it to catch the water as it drains out of the tank. This ensures a tidy and controlled draining process, preventing water from spilling onto the floor and causing a mess.
Step 4: Attach a Garden Hose (Optional)
For added convenience and control during the draining process, you have the option to attach a garden hose to the drain valve. Attaching a garden hose allows you to direct the discharged water to a suitable drainage location, such as a floor drain or outdoor area, minimizing the risk of spills and messes inside your home.
To attach the garden hose, simply screw one end of the hose onto the threaded outlet of the drain valve. Ensure that the connection is tight to prevent leaks. Once the hose is securely attached, place the other end of the hose in the desired drainage location.
Using a garden hose provides greater flexibility and control over where the discharged water flows, making the draining process more manageable and efficient. However, if you choose not to use a garden hose, ensure that the bucket or drain pan positioned beneath the drain valve is large enough to contain the volume of water being drained from the tank.
Step 5: Open the Drain Valve
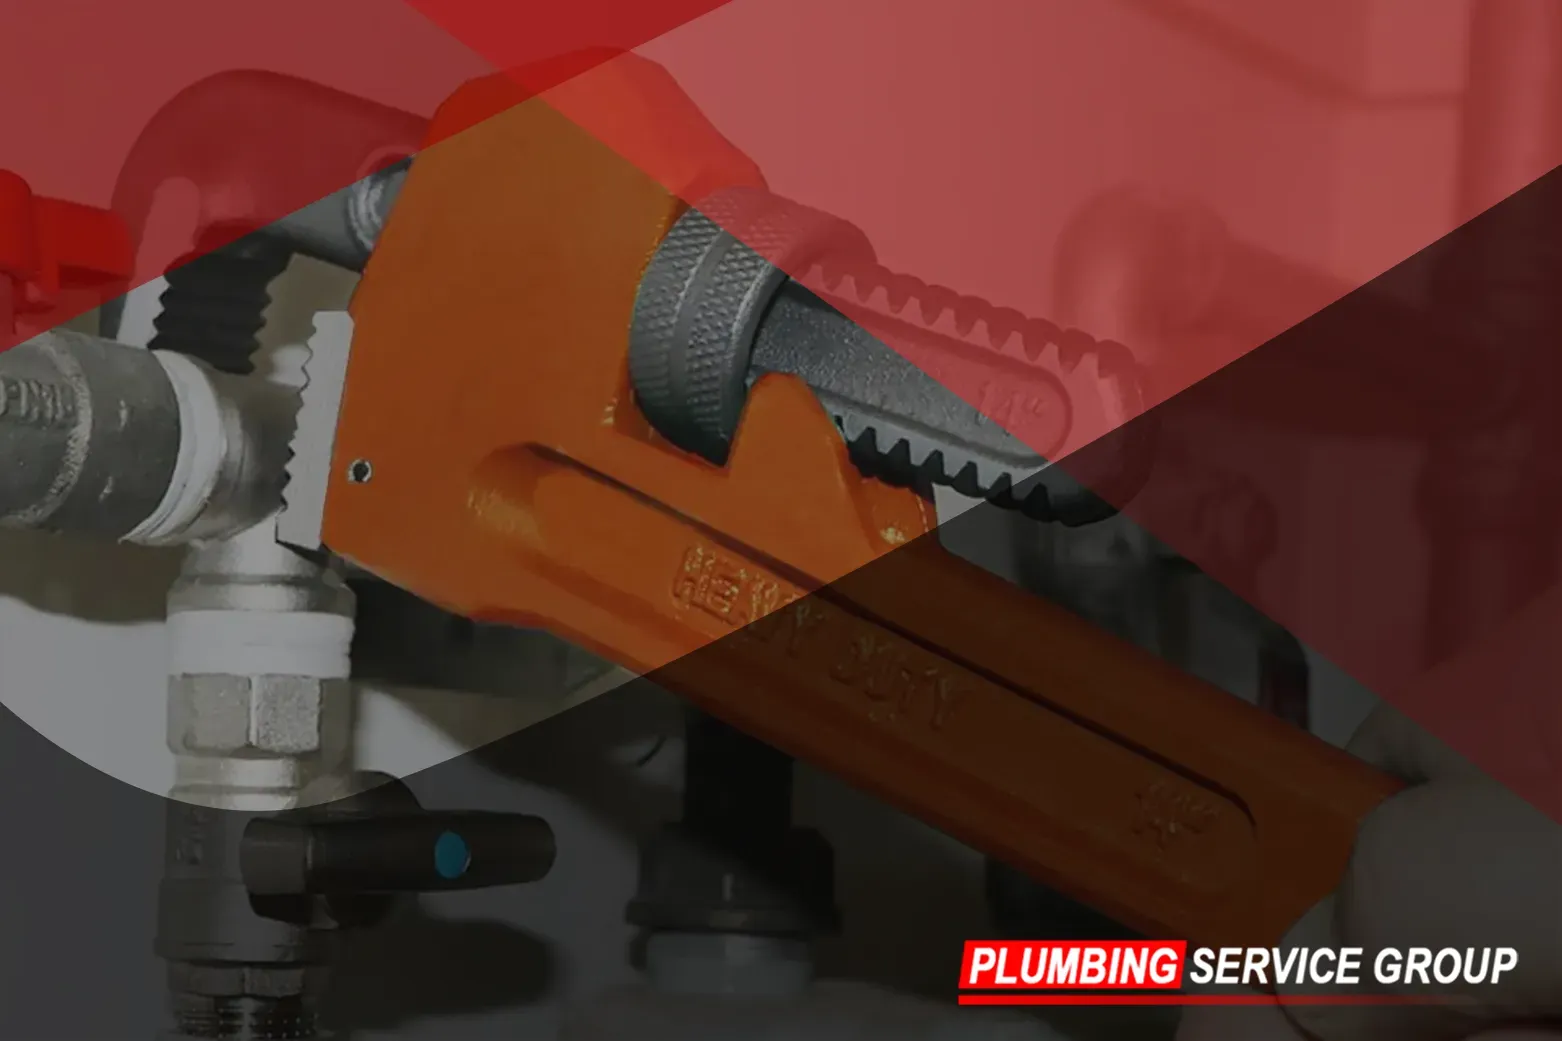
With your safety gloves on, it's time to open the drain valve and begin draining the hot water tank. Using a wrench or pliers, carefully turn the handle of the drain valve counterclockwise to open it. Take care not to force the valve open or cause damage to the threads. Instead, apply gentle pressure until you feel the valve begin to loosen.
As you open the drain valve, be prepared for the water to start flowing out of the tank. It's essential to monitor the drainage process closely and adjust the valve as needed to control the flow of water. If the flow is too fast, partially close the valve to slow it down. Conversely, if the flow is too slow, open the valve further to increase the flow rate.
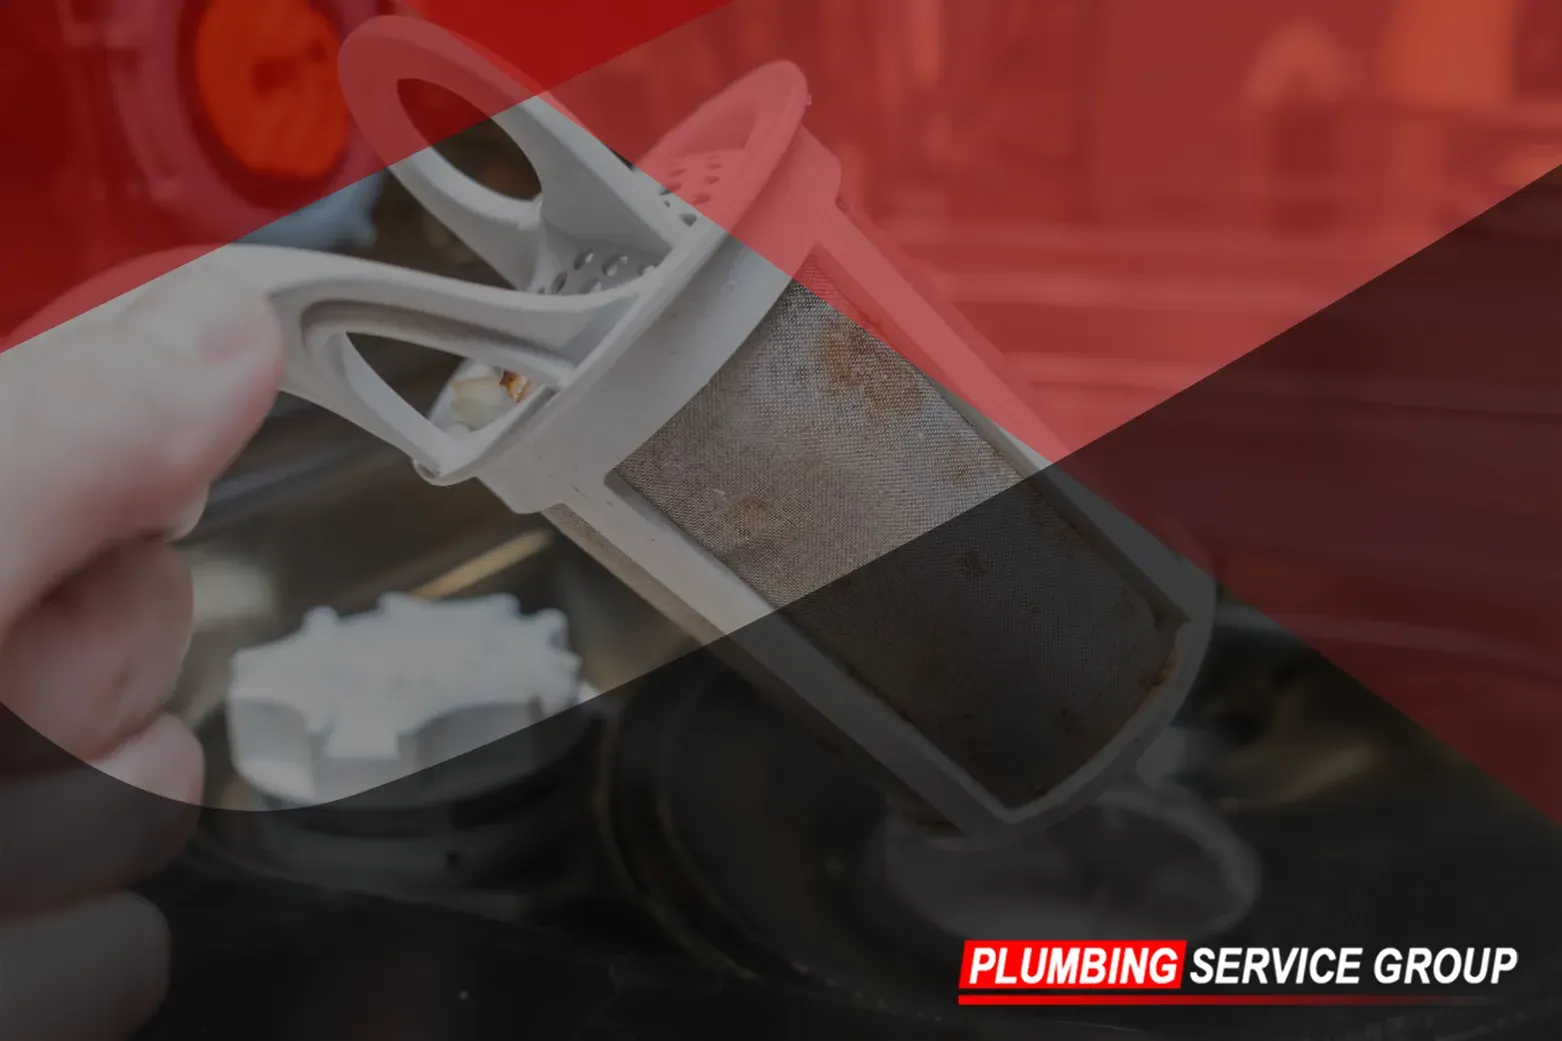
Step 6: Flush Out Sediment (Optional)
During the draining process, you may notice sediment or debris coming out of the tank, especially if it hasn't been drained for a while. Sediment buildup can affect the efficiency of your water heater and lead to issues such as reduced heating capacity and increased energy consumption.
If you observe sediment during the draining process, consider flushing out the tank to remove any buildup. To do this, temporarily close the drain valve to allow the tank to fill with water. Once the tank is filled, reopen the drain valve to flush out the sediment. Repeat this process several times until the water runs clear, indicating that the tank is clean and free of debris.
Flushing out the tank helps to maintain optimal performance and efficiency, prolonging the lifespan of your water heater and reducing the risk of future issues. While flushing the tank is optional, it's a proactive maintenance step that can contribute to the longevity of your hot water system.
Step 7: Close the Drain Valve
After successfully draining the hot water tank and flushing out any sediment, it's time to close the drain valve. With the tank completely drained, use a wrench or pliers to turn the handle of the drain valve clockwise until it is fully closed. Ensure that the valve is securely tightened to prevent any leaks or drips.
If you attach a garden hose during the draining process, be sure to remove it from the drain valve once the valve is closed. Check the surrounding area for any water leaks or spills, and clean up any water that may have accumulated to maintain a safe and dry environment.
Step 8: Refill and Restart the Water Heater
With the drain valve securely closed, it's time to refill the hot water tank and restart the water heater. Begin by turning the cold water supply valve back on to allow water to flow into the tank. You may hear the sound of water filling the tank, indicating that it is refilling.
Once the tank is full, restore power to the water heater according to its specific type:
For Electric Water Heaters: Return to the electrical panel of your home and switch the circuit breaker dedicated to the water heater back on. This restores power to the heating elements of the water heater, allowing it to heat the water.
For Gas Water Heaters: If you turn off the gas supply valve during the draining process, turn it back on to restore gas flow to the water heater. Next, follow the manufacturer's instructions to relight the pilot light on the gas water heater. Once the pilot light is lit, the burner will ignite, and the water heater will begin heating the water.
Allow the water heater to heat up to the desired temperature before using hot water in your home. This typically takes about 1-2 hours, depending on the size and efficiency of your water heater. Once the water has reached the desired temperature, you can safely use hot water for your daily needs, knowing that your water heater has been properly maintained and serviced.
By following these steps, you can drain your hot water tank safely and efficiently, prolonging its lifespan and ensuring optimal performance. Regular maintenance tasks such as draining and flushing the tank help to remove sediment and debris, preventing clogs and maintaining efficient operation. If you encounter any issues or need assistance with your hot water tank, don't hesitate to contact Plumbing Service Group for expert guidance and professional plumbing services. We're here to help you
keep your water heating system running smoothly for years to come. We specialize in all kinds of water heaters including
solar water heaters,
electric water heaters,
gas water heaters,
tankless water heaters, etc.