Get in touch
555-555-5555
mymail@mailservice.com

How to Install a Garbage Disposal?
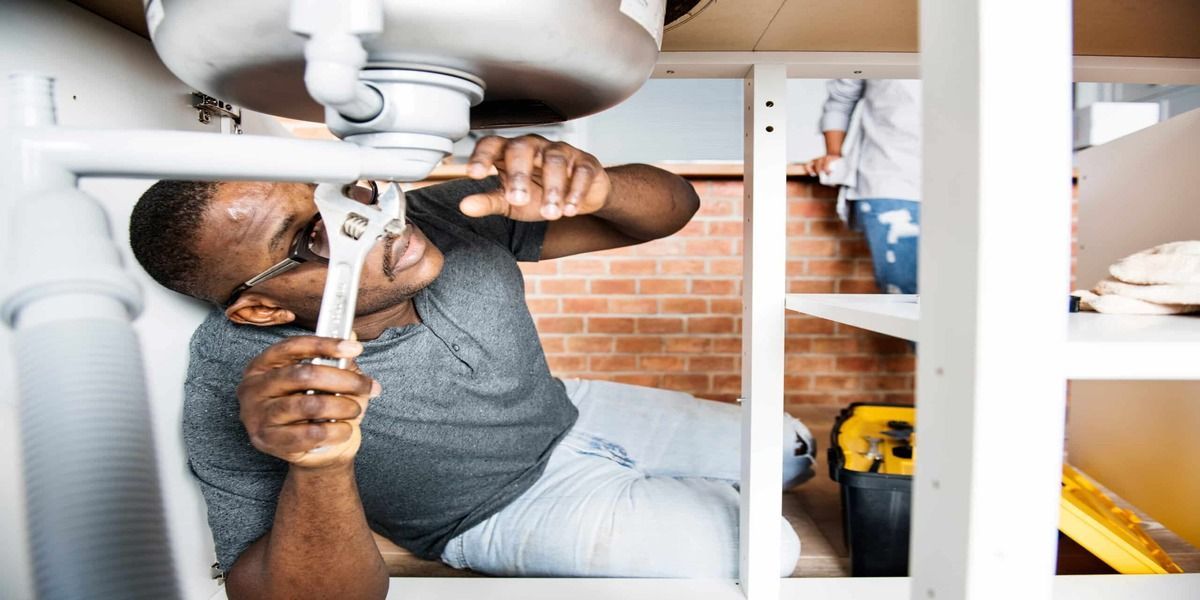
Are you looking to upgrade your kitchen with the convenience of a garbage disposal? Installing a garbage disposal is a relatively simple and rewarding DIY project that can enhance your kitchen's functionality and cleanliness. In this detailed guide brought to you by Plumbing Service Group, we'll walk you through the process of installing garbage disposal from start to finish, providing expert tips and insights along the way. With our step-by-step instructions, you'll be able to tackle this project with confidence and precision.
Why Install a Garbage Disposal?
Before we dive into the installation process, let's explore the benefits of having a garbage disposal in your kitchen:
- Convenience: A garbage disposal allows you to quickly and easily dispose of food scraps, reducing the need for manual scraping and cleaning of dishes.
- Odor Control: By grinding food waste into fine particles, a garbage disposal helps eliminate odors and reduce the risk of attracting pests such as insects and rodents.
- Environmental Benefits: Properly disposing of food waste through a garbage disposal reduces the amount of organic material sent to landfills, contributing to a more sustainable waste management solution
Step-by-Step Guide: How to Install a Garbage Disposal
Gather Your Tools and Materials:
Before you begin, make sure you have the following tools and materials on hand:
- Garbage disposal unit
- Mounting hardware
- Electrical wire nuts
- Plumbers putty
- Adjustable wrench
- Screwdriver
- Plumber's tape
Prepare the Area:
Start by turning off the power to the garbage disposal at the circuit breaker. Disconnect the drain trap and remove the old sink strainer if applicable. Clean the area around the sink opening to ensure a smooth surface for installation.
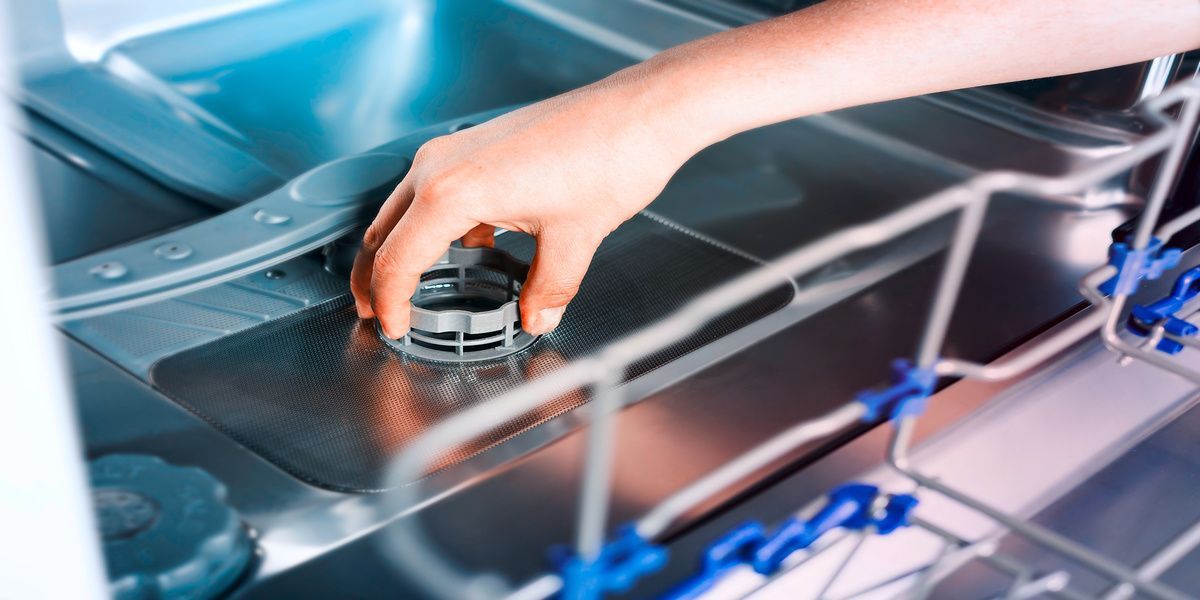
Mount the Garbage Disposal:
To mount the garbage disposal, begin by attaching the mounting assembly to the underside of the sink flange. Use the hardware provided with the disposal to secure the mounting assembly in place. This typically involves positioning the mounting ring over the sink flange and fastening it with either a snap ring or mounting screws.
Once the mounting assembly is attached, ensure that it is level and properly aligned with the sink opening. A level mounting assembly is crucial for the proper installation and operation of the garbage disposal. Use a carpenter's level to check for any deviations and make adjustments as necessary to ensure a perfect alignment.
Ensuring that the mounting assembly is securely fastened and properly aligned will provide a stable foundation for the garbage disposal unit and prevent any issues with its operation or performance.
Connect the Disposal Unit:
With the mounting assembly securely in place, it's time to attach the garbage disposal unit. Position the disposal unit over the mounting bracket on the assembly and align it carefully. Once aligned, use the mounting screws provided with the disposal to secure it to the mounting bracket.
Make sure to tighten the mounting screws securely to ensure that the disposal unit is firmly attached to the mounting assembly. A properly secured disposal unit will prevent any wobbling or instability during use, ensuring smooth and efficient operation.
After securing the disposal unit, double-check to ensure that it is properly aligned and does not wobble. Any misalignment or instability could lead to issues with the disposal's performance and longevity, so it's essential to address any issues before proceeding.
Connect the Drain Pipes:
With the disposal unit securely mounted, it's time to connect the drain pipes. Start by connecting the discharge tube from the garbage disposal to the drain pipe using a rubber coupling or compression fitting. Ensure that the connections are tight and secure to prevent any leaks.
To further ensure a watertight seal, use the plumber's tape around the threaded connections. Plumber's tape helps to create a tight seal and prevents leaks from developing over time. Use an adjustable wrench to tighten the connections securely, but be careful not to overtighten, as this could damage the fittings.
Once the connections are tightened and secured, test the garbage disposal to ensure that it operates smoothly and efficiently. Check for any leaks around the connections and make any necessary adjustments to ensure a watertight seal. With the drain pipes properly connected, your garbage disposal is now ready for use.
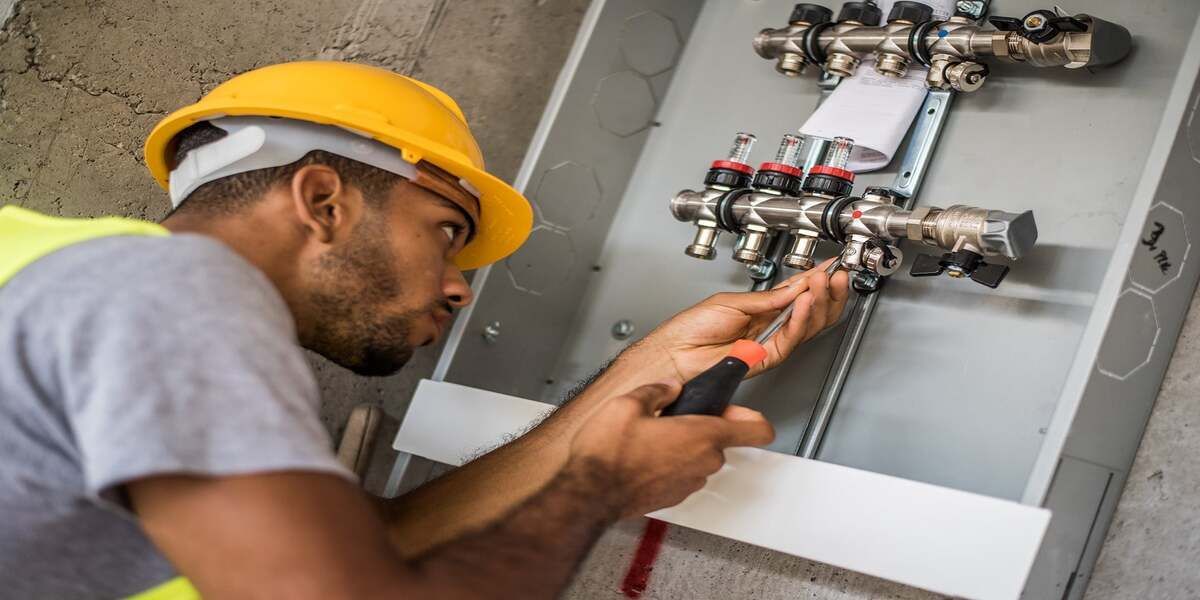
Electrical Connection:
If your garbage disposal requires electrical wiring, follow the manufacturer's instructions to connect the wiring using wire nuts. Make sure the electrical connections are secure and properly insulated to prevent electrical hazards.
Test the Disposal:
Once the installation is complete, turn the power back on at the circuit breaker. Run cold water and test the garbage disposal to ensure it operates smoothly and efficiently. Check for any leaks or unusual noises during operation.
Final Adjustments and Cleanup:
Make any final adjustments to the mounting assembly or drain pipes as needed. Clean up any debris or excess plumber's putty around the sink opening. Your new garbage disposal is now ready to use!
Expert Tips for Success
- Always follow the manufacturer's instructions and safety precautions when installing a garbage disposal.
- Take your time and double-check your work at each step to ensure a proper and secure installation.
- If you're unsure about any aspect of the installation process, don't hesitate to seek professional assistance from Plumbing Service Group.
Contact Plumbing Service Group for Professional Plumbing Services
At Plumbing Service Group, we specialize in providing
professional plumbing installations and other services. Whether you need assistance with installing a garbage disposal, repairing leaks, or upgrading your plumbing fixtures, our team of experienced plumbers is here to help. Contact us today to schedule a consultation and experience the difference of working with the leading experts in plumbing services.