How to Use a Plumbing Snake? Expert Guide
Are you facing a stubborn clog in your plumbing system that just won't budge? When plunging and chemical cleaners fail to clear the obstruction, it's time to bring out the heavy-duty tool: the plumbing snake. Used by professionals and DIY enthusiasts alike, a plumbing snake, also known as a drain auger or plumber's snake, is a versatile tool designed to navigate through pipes and break apart tough clogs.
In this comprehensive guide, Plumbing Service Group will walk you through everything you need to know about using a plumbing snake effectively. From understanding the different types of snakes to mastering the technique for clearing clogs, we've got you covered with expert tips and insights. With our guidance, you'll be able to tackle even the toughest clogs with confidence and restore proper flow to your plumbing system.
Understanding the Basics of a Plumbing Snake
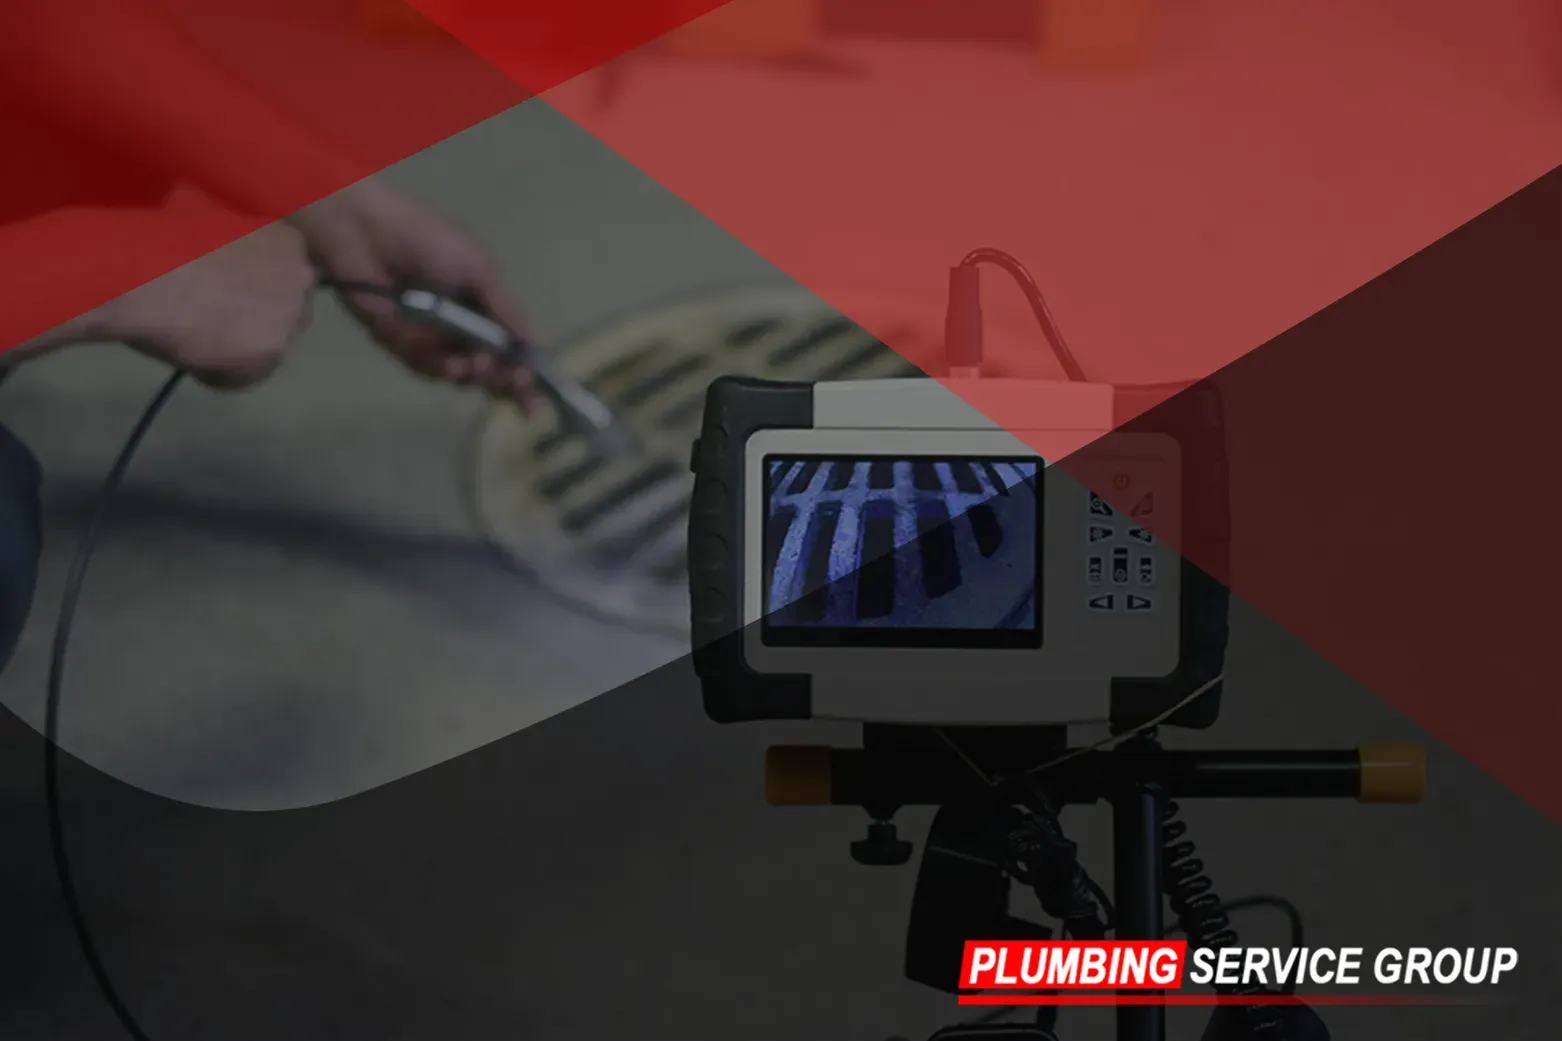
Before we dive into the details of how to use a plumbing snake, let's start with the basics. A plumbing snake is a long, flexible tool consisting of a coiled wire or cable with an auger or blade attached to one end. The snake is inserted into the drain or pipe and manipulated to break apart clogs and debris that are causing blockages.
Manual snakes require physical effort to operate, as you manually crank the snake to feed it into the drain and navigate through the pipe. Powered snakes, on the other hand, use a motorized mechanism to feed the snake into the drain, making them easier to use for larger or more stubborn clogs.
Manual snakes are typically more affordable and portable, making them a popular choice for homeowners tackling minor clogs in sinks, showers, and toilets. They require some physical exertion to operate, but with practice, they can be highly effective at clearing obstructions.
Powered snakes, on the other hand, are often used by professional plumbers and contractors for larger and more challenging clogs. They are equipped with a motorized mechanism that feeds the snake into the drain with minimal effort, making them ideal for heavy-duty tasks such as clearing main sewer lines or tree root intrusions.
When choosing a plumbing snake for your needs, consider factors such as the size and location of the clog, the type of pipe you're working with, and your level of experience. Manual snakes are a great option for DIY enthusiasts tackling small to moderate clogs, while powered snakes offer added convenience and power for more demanding jobs.
In the next section, we'll explore the step-by-step process for using both manual and powered snakes to clear clogs in your plumbing system. Whether you're a seasoned DIYer or a first-time plumber, Plumbing Service Group is here to provide expert guidance and support every step of the way.
Using a Plumbing Snake: Step-by-Step Guide
Now that you understand the basics of a plumbing snake, let's walk through the step-by-step process of using one to clear a clog:
Step 1: Prepare the Snake
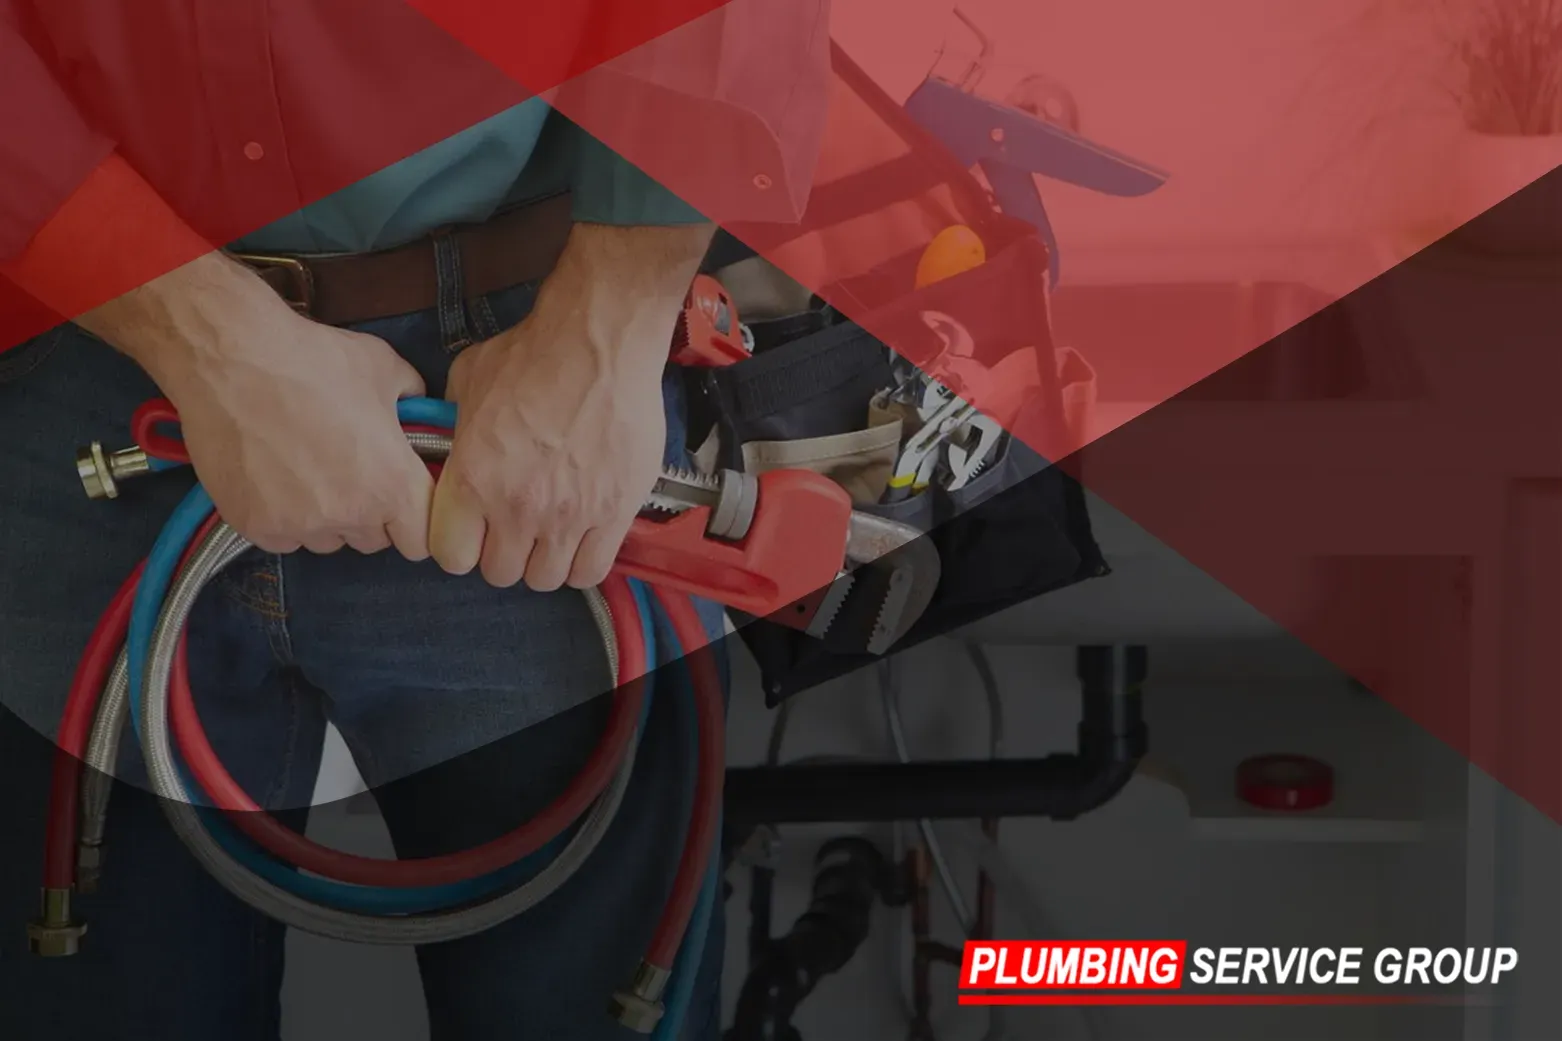
Before you begin, ensure that you have the appropriate snake for the job. For minor clogs in sinks or tubs, a handheld manual snake may suffice, while larger or more stubborn clogs may require a powered snake or professional assistance. Additionally, don't forget to put on gloves and eye protection to protect yourself from debris and splashes.
When selecting a snake, consider the length and diameter of the cable, as well as the type of auger or blade attached to the end. A longer cable may be necessary for reaching clogs deep within the pipe, while a larger diameter may be needed for clearing more substantial obstructions.
Step 2: Insert the Snake
With the snake prepared, it's time to insert it into the drain opening. Start by positioning the snake at the mouth of the drain, ensuring that the auger or blade is facing downward and ready to engage with the clog. If using a manual snake, grasp the handle firmly and begin feeding the cable into the drain opening, using a clockwise motion to guide it into the pipe.
For powered snakes, activate the motorized mechanism according to the manufacturer's instructions, allowing the machine to feed the cable into the drain automatically. Be sure to maintain a firm grip on the snake as it enters the drain to prevent it from becoming tangled or snagged on any obstructions.
As you feed the snake into the drain, apply gentle pressure to help it navigate through the pipe. Avoid forcing the cable too aggressively, as this could cause it to kink or bend, impeding its progress. Continue feeding the snake until you feel resistance or reach the obstruction that is causing the clog.
By following these steps, you can effectively prepare and insert a plumbing snake into your drain to begin clearing a clog. In the next section, we'll explore the techniques for navigating the snake through the pipe and breaking apart the obstruction to restore proper flow to your plumbing system.
Step 3: Navigate the Snake
Once the snake encounters the clog, it's time to navigate it through the pipe to effectively break apart the obstruction. This step requires patience and precision to ensure that the snake can maneuver around bends and obstructions in the pipe without becoming tangled or stuck.
If you're using a manual snake, you may need to twist or push the snake gently to help it navigate through the pipe. Pay close attention to any resistance or changes in direction, as these may indicate the presence of bends or turns in the pipe that require careful navigation.
With powered snakes, you have the advantage of using controls to adjust the direction and speed of the snake as needed. Take advantage of these features to guide the snake through the pipe with greater accuracy and control, minimizing the risk of causing damage or getting stuck.
As you navigate the snake through the pipe, be mindful of any signs of progress, such as a decrease in resistance or the sound of the snake making contact with the obstruction. These indications suggest that you're making headway and getting closer to clearing the clog.
Step 4: Break Apart the Clog
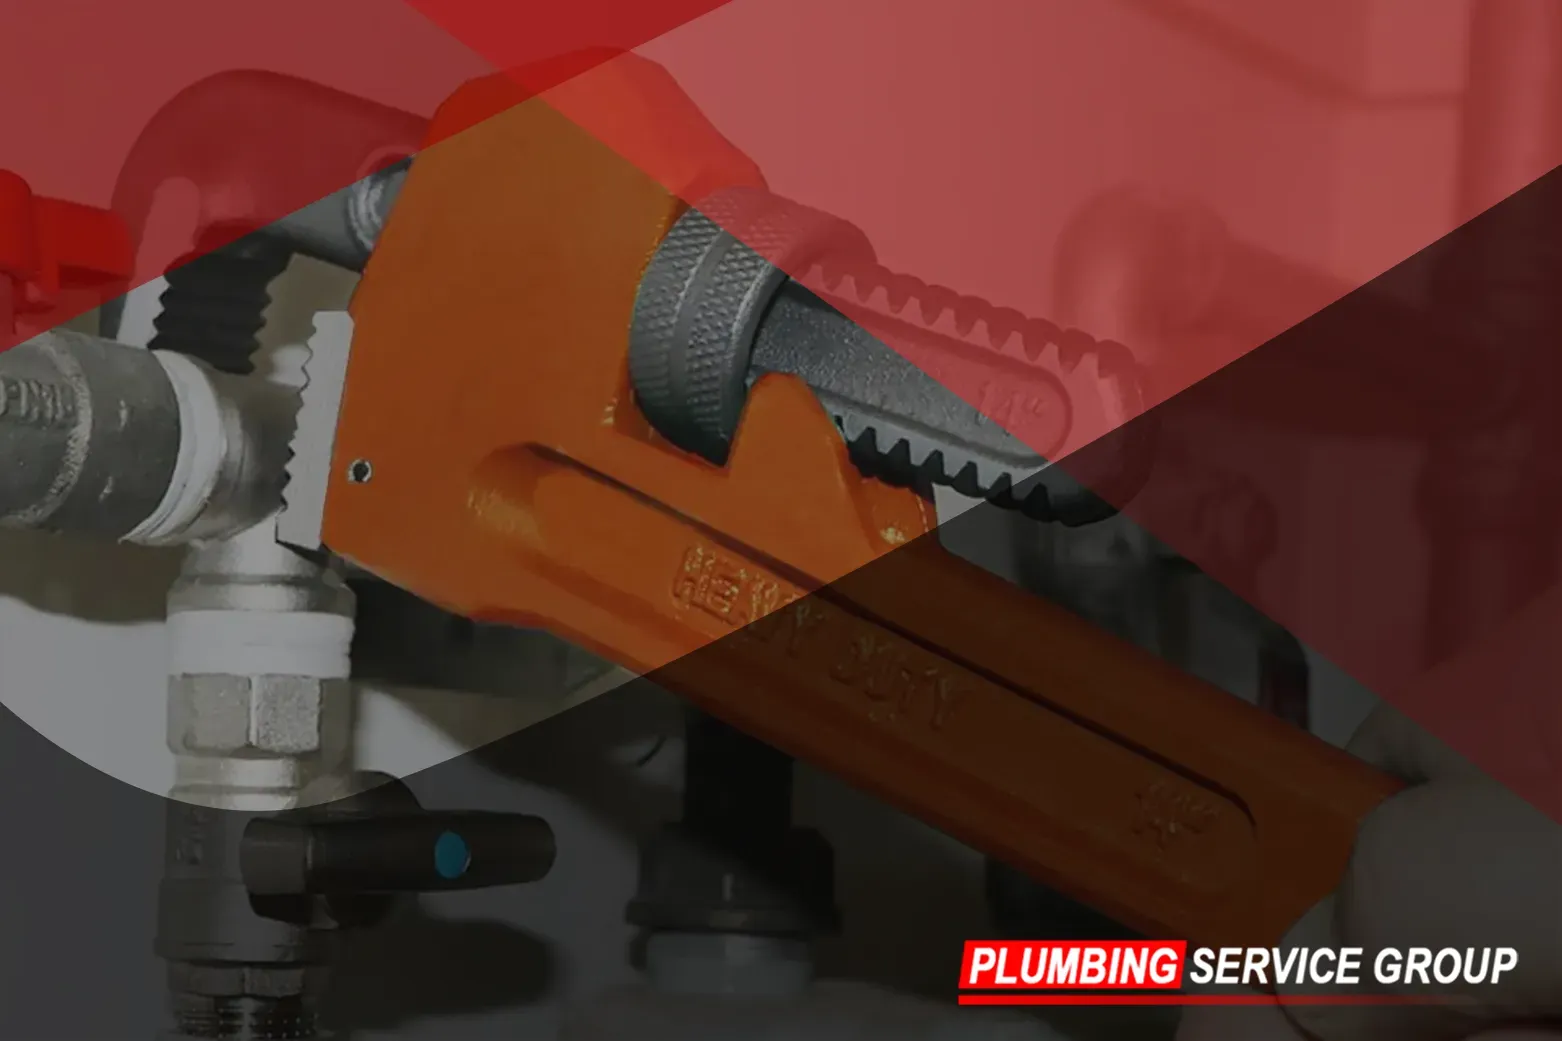
Once the snake is positioned near the clog, it's time to apply steady pressure to break apart the obstruction and restore proper flow to the drain. Use the auger or blade attached to the end of the snake to penetrate and dislodge the clog, working methodically to break it apart piece by piece.
Be patient and persistent as you work to break apart the clog, applying steady pressure and adjusting your technique as needed to effectively target and dislodge the obstruction. Avoid applying excessive force, as this could damage the pipes or push the clog further down the drain, exacerbating the problem.
If you encounter resistance or difficulty breaking apart the clog, try adjusting the angle or direction of the snake to approach the obstruction from a different angle. You may also need to withdraw the snake slightly and reposition it to achieve better access to the clog.
By following these steps, you can effectively navigate the snake through the pipe and break apart the clog to restore proper flow to your plumbing system. In the next section, we'll cover the final steps for withdrawing the snake and testing the drain to ensure that the clog has been successfully cleared.
Step 5: Withdraw the Snake
After successfully breaking apart the clog, it's time to carefully withdraw the snake from the drain. Slowly crank the handle of the manual snake counterclockwise or deactivate the motorized mechanism of the powered snake to retract the cable back out of the drain. Take care to do this gradually to avoid causing any splashing or spilling of debris that may have accumulated on the wire during the unclogging process.
As you withdraw the snake, keep a close eye on the cable to ensure that it remains straight and untangled. If you encounter any resistance or feel the snake snagging on debris, pause and gently maneuver the cable to dislodge it before continuing to withdraw.
Once the snake is completely removed from the drain, it's important to clean it thoroughly to remove any residue or debris that may have adhered to the cable. Use a rag or paper towel to wipe down the entire length of the snake, paying special attention to the auger or blade at the end. This will help prevent any leftover debris from causing future clogs and ensure that the snake is ready for future use.
Step 6: Test the Drain
With the clog successfully cleared and the snake cleaned and stored away, it's time to test the drain to ensure that it is flowing freely once again. Turn on the faucet and run hot water down the drain for several minutes, allowing it to flow freely and flush away any remaining debris.
As the water runs, pay close attention to the speed and consistency of the drainage. A properly cleared drain should allow water to flow smoothly and quickly without backing up or pooling in the sink or tub. If you notice any signs of slow drainage or obstruction, it may indicate that there are still remnants of the clog lingering in the pipe.
In such cases, repeat the unclogging process with the plumbing snake or consider using a different method, such as a chemical drain cleaner or professional plumbing services, to address the remaining blockage. Once the drain is flowing freely and efficiently, you can rest assured that the clog has been successfully cleared, and your plumbing system is back in working order.
By following these steps, you can effectively use a plumbing snake to clear clogs in your drains and restore proper flow to your plumbing system. If you encounter any difficulties or have any questions about using a plumbing snake, don't hesitate to contact Plumbing Service Group for expert assistance. We're here to help you tackle even the toughest plumbing challenges and keep your home's plumbing system running smoothly.
Using a plumbing snake is a valuable skill that can save you time and money on plumbing repairs. By following the steps outlined in this guide and exercising caution and patience, you can effectively use a plumbing snake to clear even the toughest clogs in your plumbing system. If you ever encounter a clog that you can't handle on your own, don't hesitate to contact Plumbing Service Group for
professional assistance. We have the tools, expertise, and experience to tackle even the most challenging plumbing issues and restore proper function to your plumbing system.