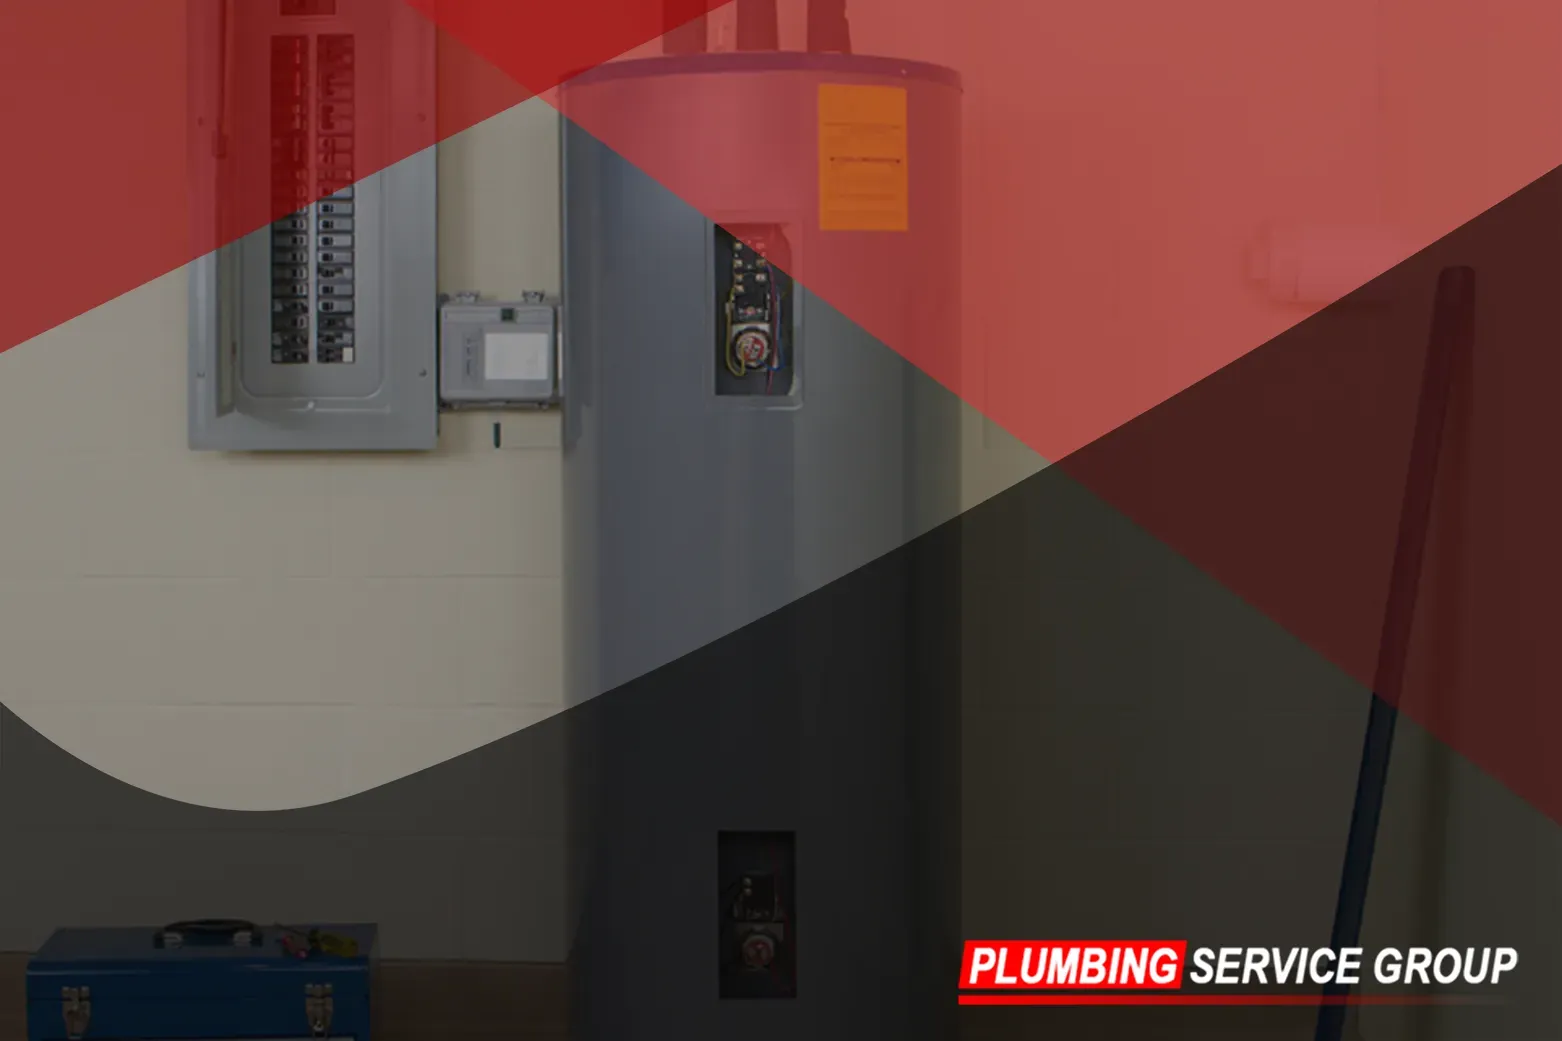
How to Solder Copper Pipe?
Are you ready to tackle a plumbing project that involves soldering copper pipes? Soldering copper pipe is a fundamental skill that every DIY enthusiast and aspiring plumber should master. Whether you're repairing a leaky pipe or installing a new plumbing fixture, knowing how to solder copper pipe properly can save you time, money, and frustration in the long run. Plumbing Service Group is here to provide you with a comprehensive guide on how to solder copper pipes like a seasoned professional.
Understanding the Basics of Soldering Copper Pipe
Before diving into the step-by-step process of soldering copper pipe, it's essential to understand the basics of this essential plumbing technique. Soldering is a method of joining two pieces of metal together using a filler material called solder. In the case of copper pipe, soldering creates a watertight seal between joints, preventing leaks and ensuring the integrity of the plumbing system.
To successfully solder copper pipe, you'll need a few essential tools and materials, including:
- Copper pipe and fittings
- Soldering torch
- Flux
- Solder wire
- Emery cloth or sandpaper
- Pipe cutter or hacksaw
- Adjustable wrench or pliers
- Safety goggles and gloves
Step-by-Step Process
Step 1: Prepare the Copper Pipe
Proper preparation of the copper pipe is essential for ensuring a successful soldering joint. Follow these steps to prepare the copper pipe effectively:
- Measure and Mark: Begin by measuring the length of the copper pipe required for your plumbing project using a tape measure. Use a pencil or marker to mark the desired cutting point on the pipe.
- Secure the Pipe: Once you've marked the cutting point, securely clamp the copper pipe in place using a pipe vise or adjustable clamps. This will prevent the pipe from moving while you cut it and ensure a clean, precise cut.
- Cut the Pipe: Use a pipe cutter or hacksaw to cut the copper pipe along the marked cutting point. For best results, make a smooth and steady cut without applying excessive force. Rotate the pipe cutter or saw around the circumference of the pipe until it is cleanly severed.
- Deburr the Ends: After cutting the pipe, it's essential to remove any burrs or rough edges from the cut ends. Use a deburring tool or a half-round file to gently chamfer the edges of the pipe, ensuring a smooth and even surface.
- Clean the Pipe: Once the ends of the pipe are deburred, thoroughly clean them to remove any dirt, debris, or oxidation. Use emery cloth or sandpaper to lightly sand the outside of the pipe and the inside of the fittings. This will help to create a clean surface for soldering and ensure a strong bond between the pipe and fittings.
Step 2: Apply Flux to the Joints
Now that the copper pipe is properly prepared, it's time to apply flux to the joints. Follow these steps to apply flux effectively:
- Choose the Right Flux: Select a suitable flux for copper pipe soldering, such as a water-based or paste flux. Ensure that the flux is compatible with the type of solder you'll be using and the materials involved in the plumbing project.
- Apply Flux Evenly: Using a flux brush or applicator, apply a thin, even layer of flux to the outside of the pipe and the inside of the fittings. Be sure to coat the entire surface area of the joint where the pipe and fittings will be joined.
- Avoid Excess Flux: While it's essential to apply flux to promote solder flow and create a strong bond, avoid applying an excessive amount of flux. Too much flux can lead to messy solder joints and may interfere with the soldering process.
- Clean Up Excess Flux: If you accidentally apply too much flux or it drips onto unintended areas, use a clean cloth or paper towel to wipe away the excess. It's crucial to keep the work area clean and free of flux residue to ensure a neat and professional soldering job.
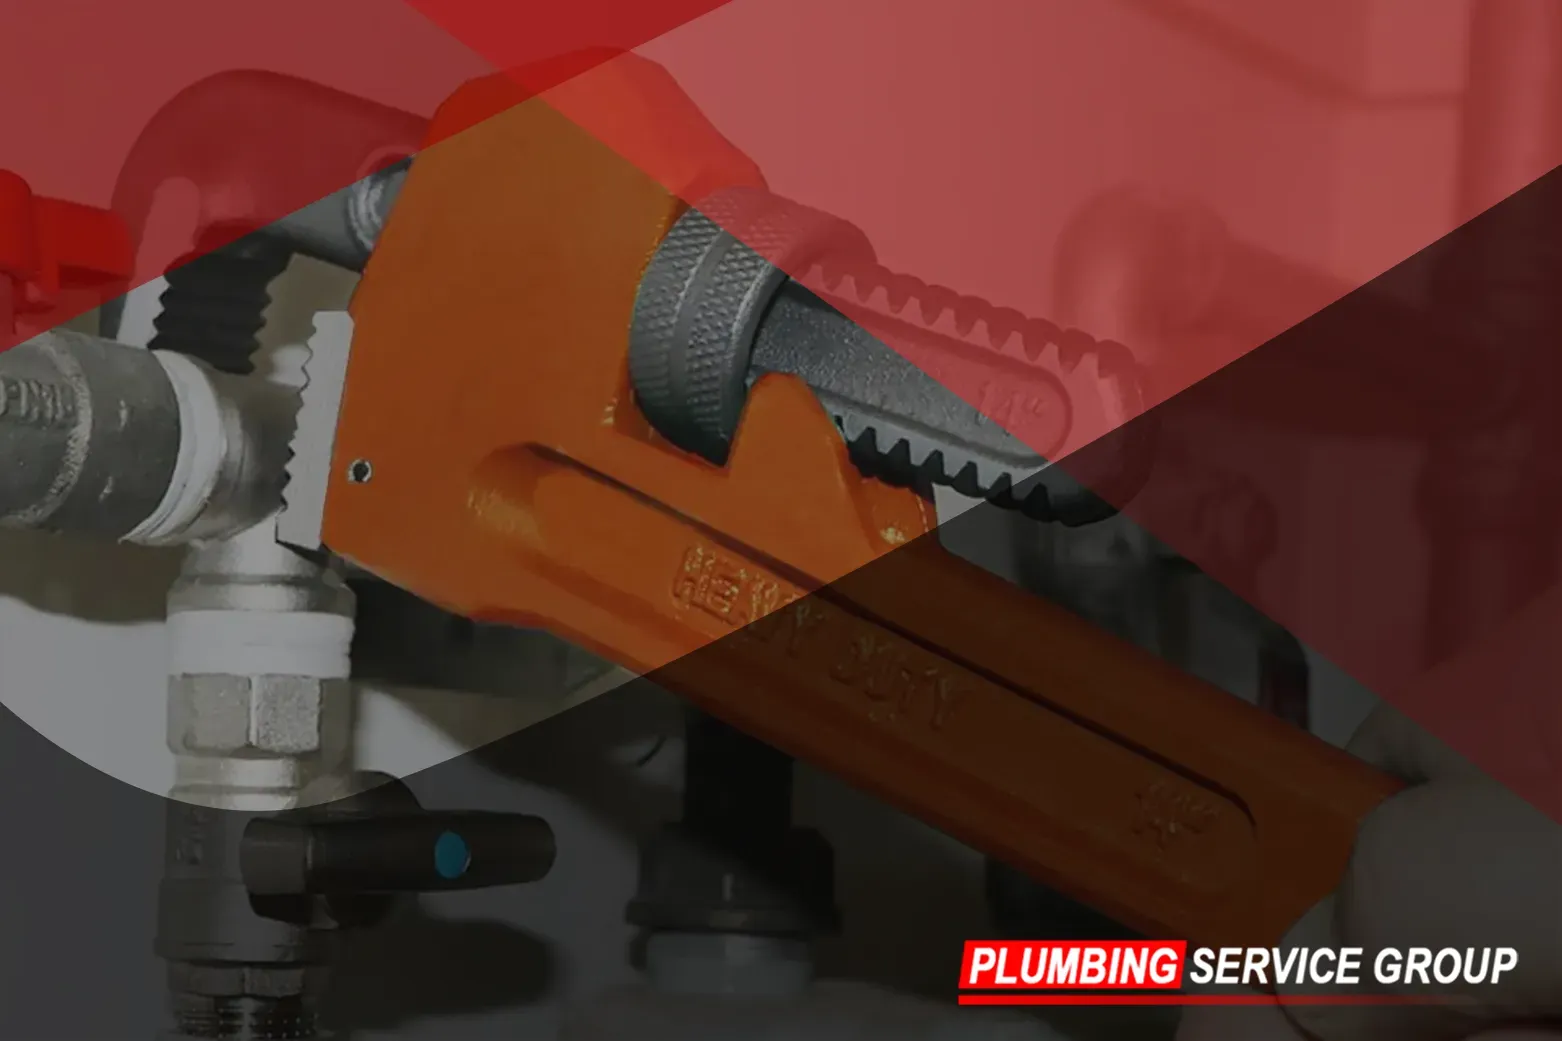
Step 3: Assemble the Pipe and Fittings
With the ends of the copper pipe and fittings cleaned and prepped, it's time to assemble them into the desired configuration. Carefully insert the cleaned ends of the pipe into the fittings, ensuring that they slide in smoothly and create a snug fit. It's crucial to verify that the pipe and fittings are aligned correctly, as any misalignment can lead to leaks or weak joints once soldered.
To ensure a secure connection, use an adjustable wrench or pliers to tighten the fittings onto the pipe firmly. Apply gentle pressure to ensure that the fittings are seated properly and that there are no gaps between the pipe and fittings. This step is essential as soldering will permanently bond the pipe and fittings together, and any misalignment or gaps can compromise the integrity of the joint.
Step 4: Heat the Joint
With the pipe and fittings assembled, it's time to apply heat to the joint to facilitate the soldering process. Using a soldering torch, carefully apply heat to the joint where the pipe and fittings meet. It's crucial to move the flame around the joint evenly to distribute the heat uniformly and prevent overheating, which can lead to damage or warping of the pipe or fittings.
As you apply heat, keep a close eye on the flux applied in the previous step. As the joint heats up, the flux will begin to bubble and smoke, indicating that it's reaching the proper temperature for soldering. This is a critical indicator that the joint is ready for soldering, so be sure to monitor the flux closely throughout the heating process.
By heating the joint evenly and ensuring that the flux is activated, you'll create the ideal conditions for soldering, resulting in a strong and durable bond between the pipe and fittings. With the joint properly heated, you're now ready to move on to the next step of the soldering process and apply the solder to complete the joint.
Step 5: Apply Solder
Now that the joint is properly heated and the flux is activated, it's time to apply solder to create a strong and secure bond between the pipe and fittings. With the soldering torch still in hand, gently touch the end of the solder wire to the heated joint. As the solder wire comes into contact with the joint, it will melt and flow smoothly into the gap between the pipe and fittings.
As you apply the solder, be mindful of maintaining a steady and even flow to ensure uniform coverage of the joint. Move the solder wire around the entire circumference of the joint, allowing the molten solder to fill any gaps and create a seamless connection between the pipe and fittings. It's important to apply enough solder to fully encapsulate the joint without overfilling it, as excess solder can lead to weak joints or leaks.
Continue to apply solder until the entire circumference of the joint is filled and a smooth bead of solder is visible around the connection. This ensures that the joint is completely sealed and watertight, providing long-lasting reliability and peace of mind.
Step 6: Inspect and Clean
Once the solder has cooled and solidified, it's time to inspect the joint for any signs of leaks or defects. Carefully examine the soldered connection, checking for any visible gaps, cracks, or irregularities that may indicate a faulty joint. Pay close attention to the areas where the pipe and fittings meet, as well as any areas where solder may have pooled or accumulated.
If any defects or imperfections are detected, it may be necessary to reheat the joint and apply additional solder to achieve a proper seal. However, if the joint appears to be sound and secure, proceed to the final step of the soldering process.
Using a damp cloth or sponge, carefully wipe away any excess flux or solder residue from the surface of the joint. This helps to ensure a clean and professional-looking finish while removing any potential sources of corrosion or contamination. Take care not to disturb the soldered joint or inadvertently introduce debris into the plumbing system.
Congratulations! You've successfully soldered a copper pipe joint like a pro. With practice and patience, you'll soon master the art of soldering and be ready to tackle even the most challenging plumbing projects with confidence. At Plumbing Service Group, we understand the importance of proper soldering techniques in maintaining the integrity and functionality of plumbing systems. With our expertise and dedication to quality craftsmanship, we're here to support you every step of the way. Moreover, feel free to contact us for any
plumping pipe services you require. If you have any questions or need assistance with your plumbing project, don't hesitate to reach out to our
team of experienced professionals.