How to Plumb a Bathroom Like a Pro?
Are you ready to transform your bathroom into a functional oasis? Look no further! Welcome to Plumbing Service Group's ultimate guide on how to plumb a bathroom like a pro. From installing fixtures to tackling tricky pipes, we've got you covered every step of the way. Let's dive in and make your dream bathroom a reality!
Plumbing a bathroom may seem like a daunting task, but with the right knowledge and guidance, anyone can master it. Whether you're renovating your existing bathroom or starting from scratch, understanding the basics of bathroom plumbing is crucial for a successful project. In this guide, we'll walk you through the essential steps and techniques to ensure your bathroom plumbing is done efficiently and effectively.
Step-by-Step Instructions
Step 1: Planning and Preparation
Before you pick up your wrench, it's essential to have a solid plan in place. Start by creating a detailed layout of your bathroom, including the location of fixtures such as sinks, toilets, and showers. Determine the placement of water supply lines and drain pipes, taking into account local building codes and regulations.
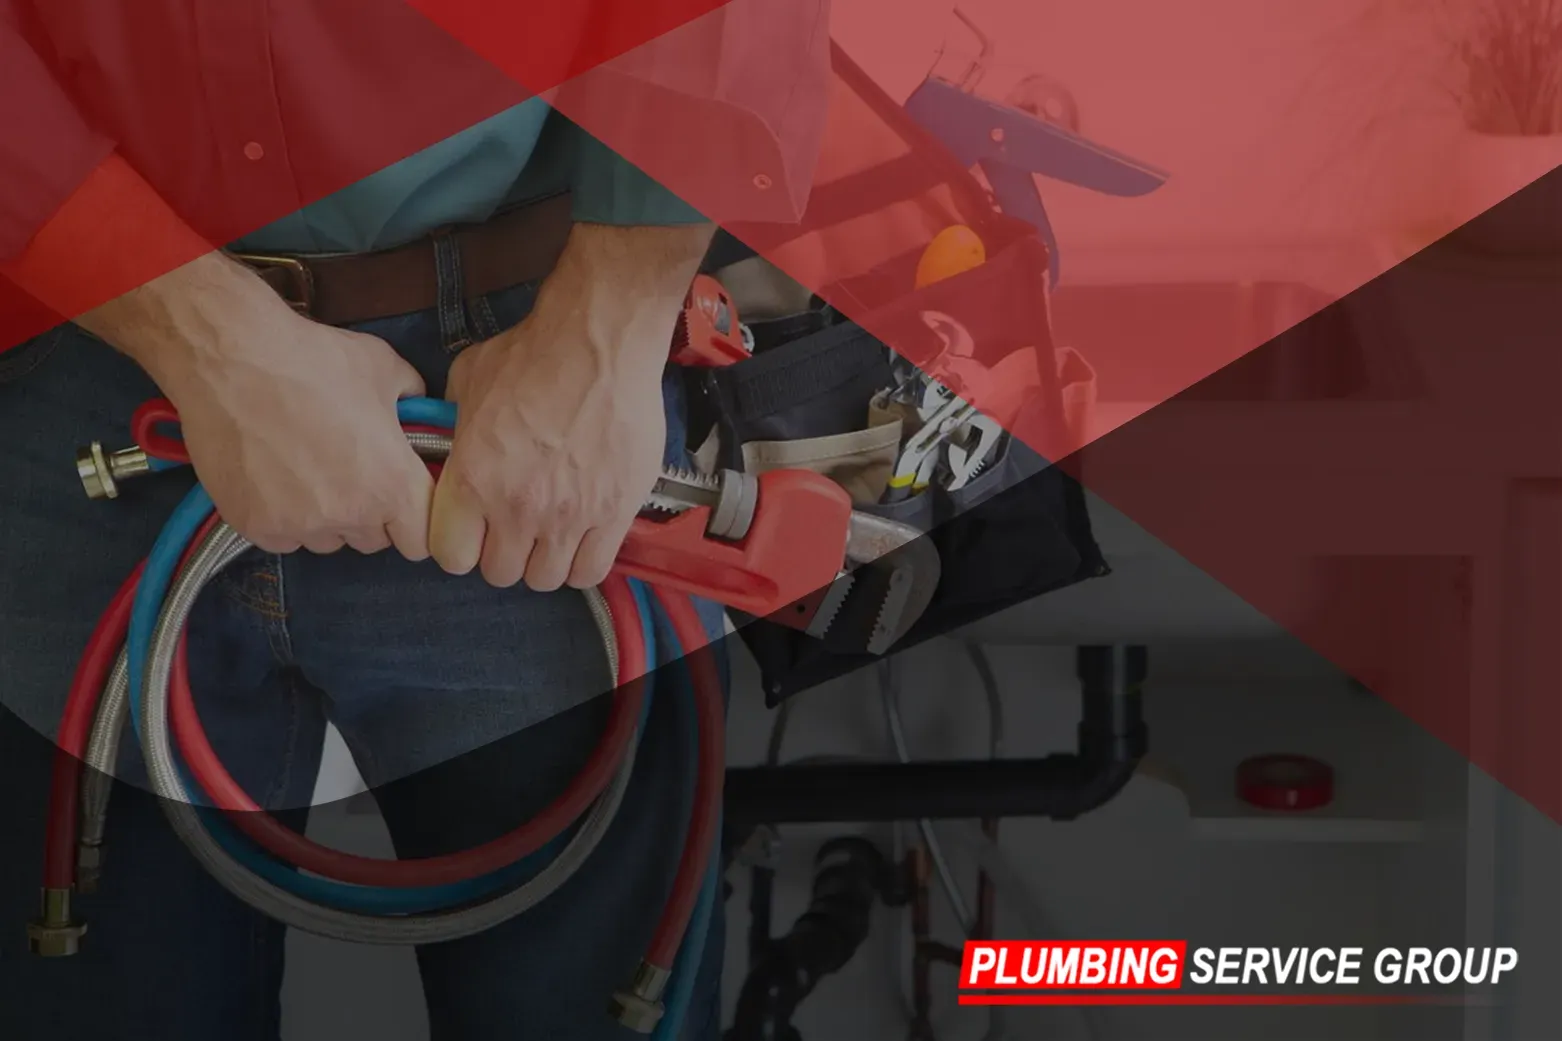
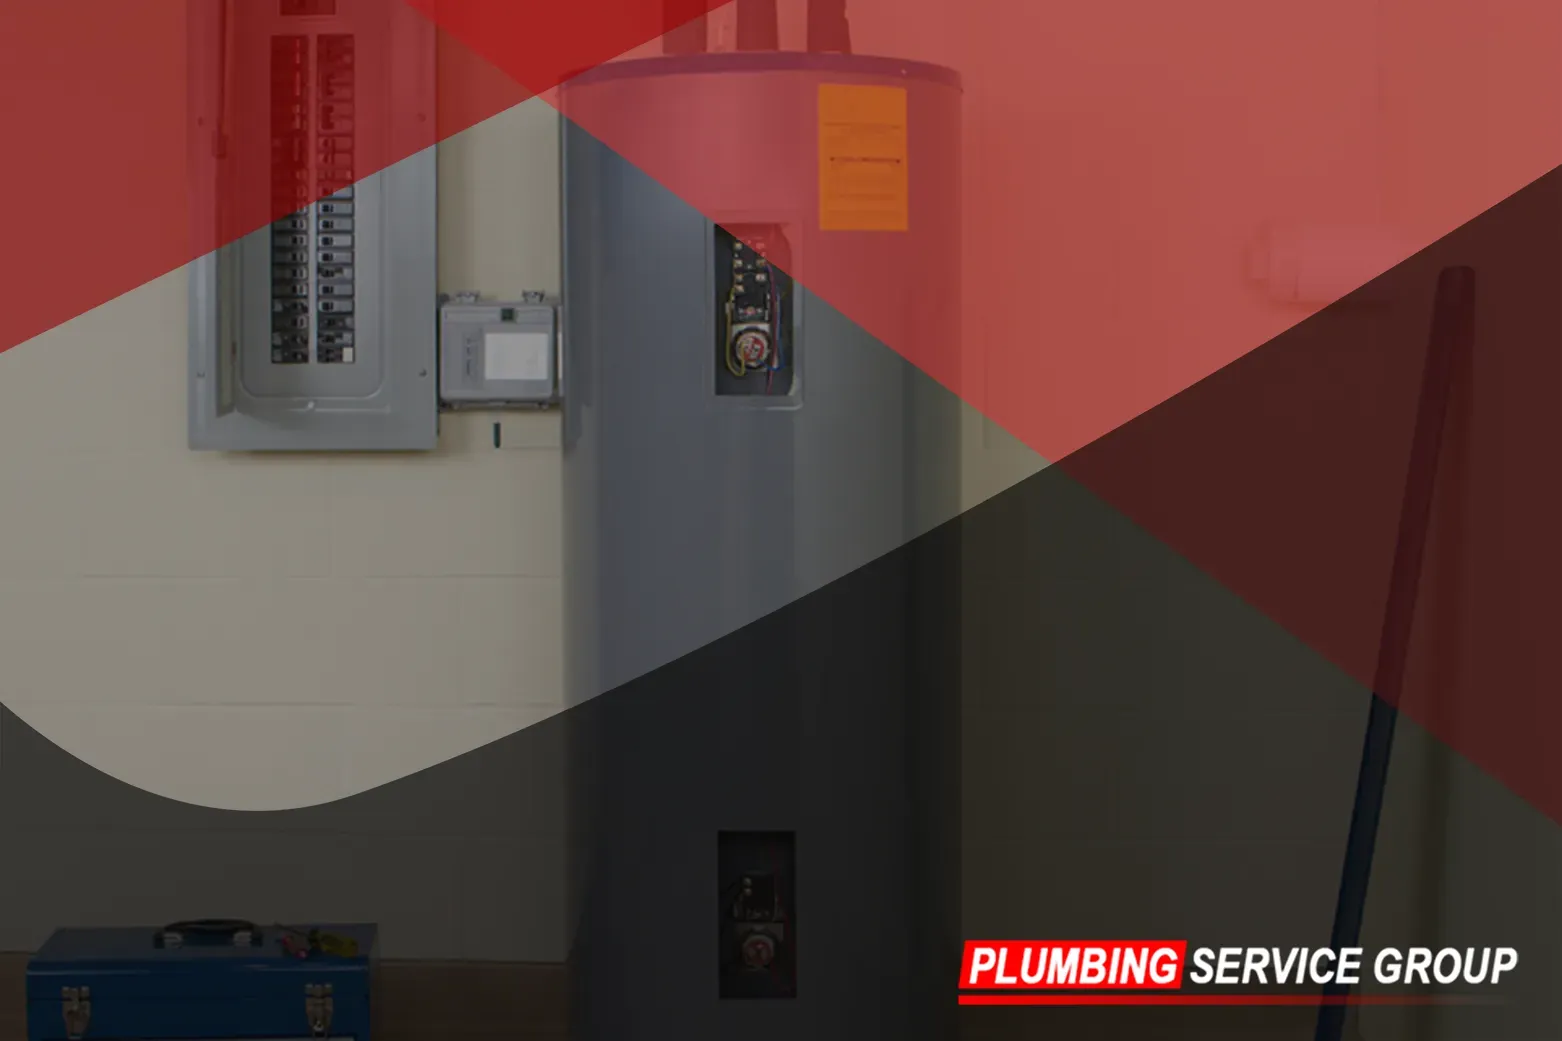
Step 2: Gather Your Tools and Materials
Having the right tools and materials on hand is key to a smooth plumbing project. Here's a list of essential items you'll need:
- Adjustable wrench
- Pipe cutter
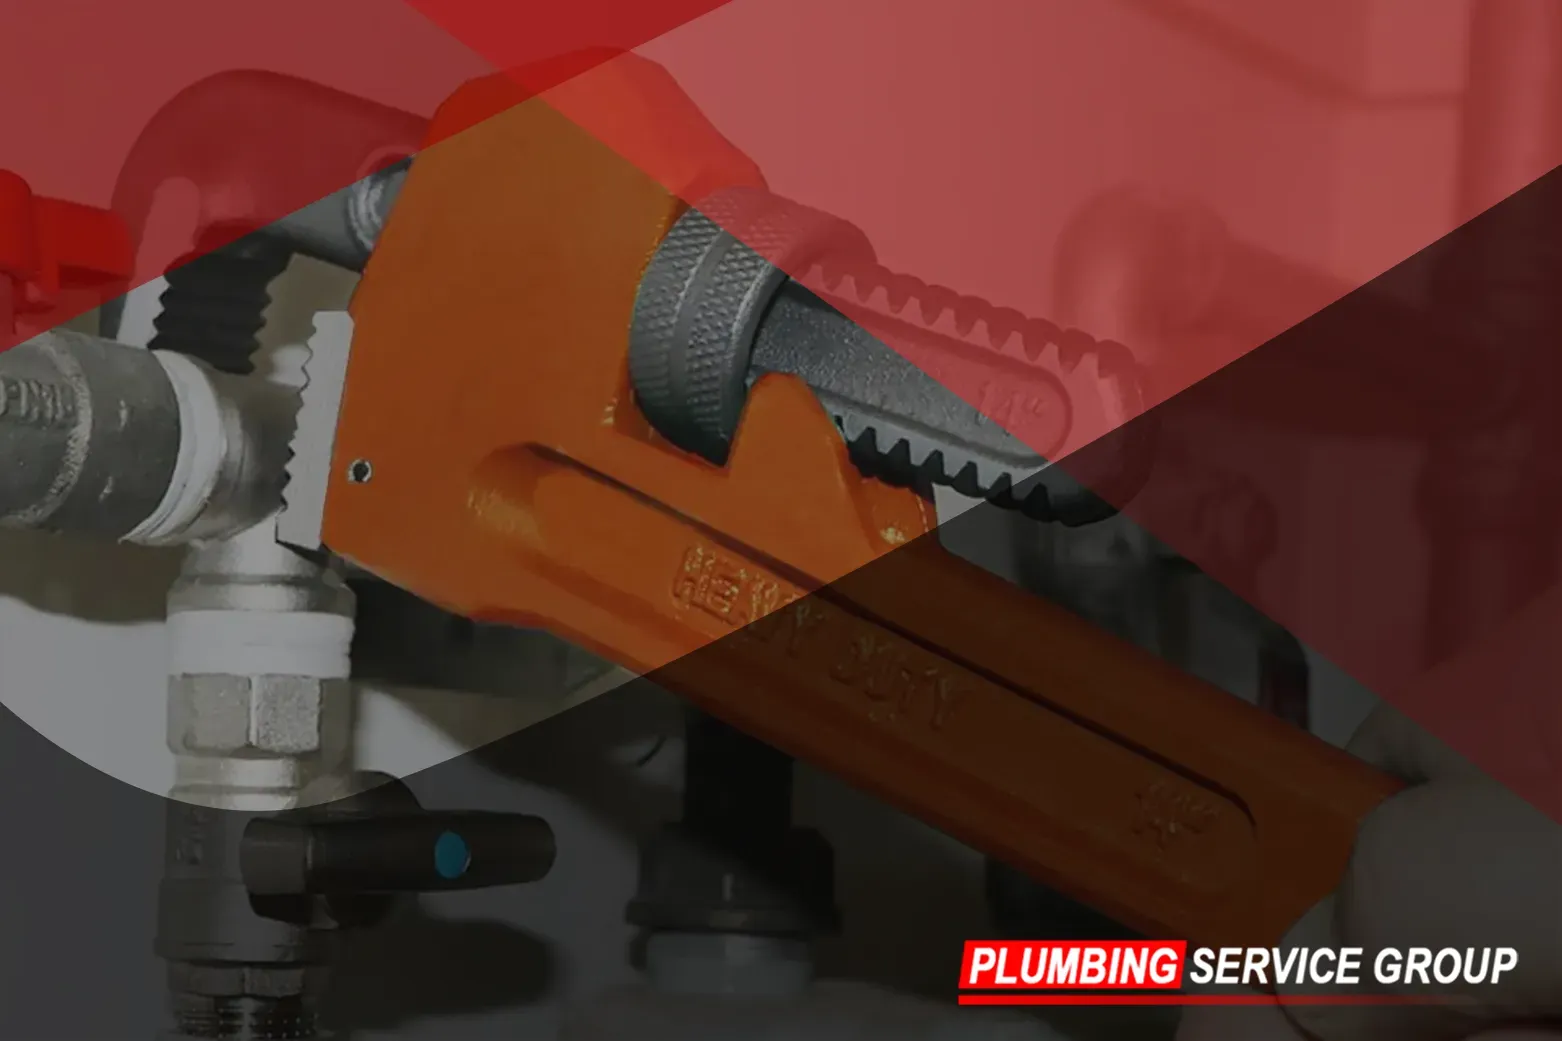
- Pipe wrench
- Plumber's tape
- PVC primer and cement
- Plunger
- Tape measure
- Safety goggles and gloves
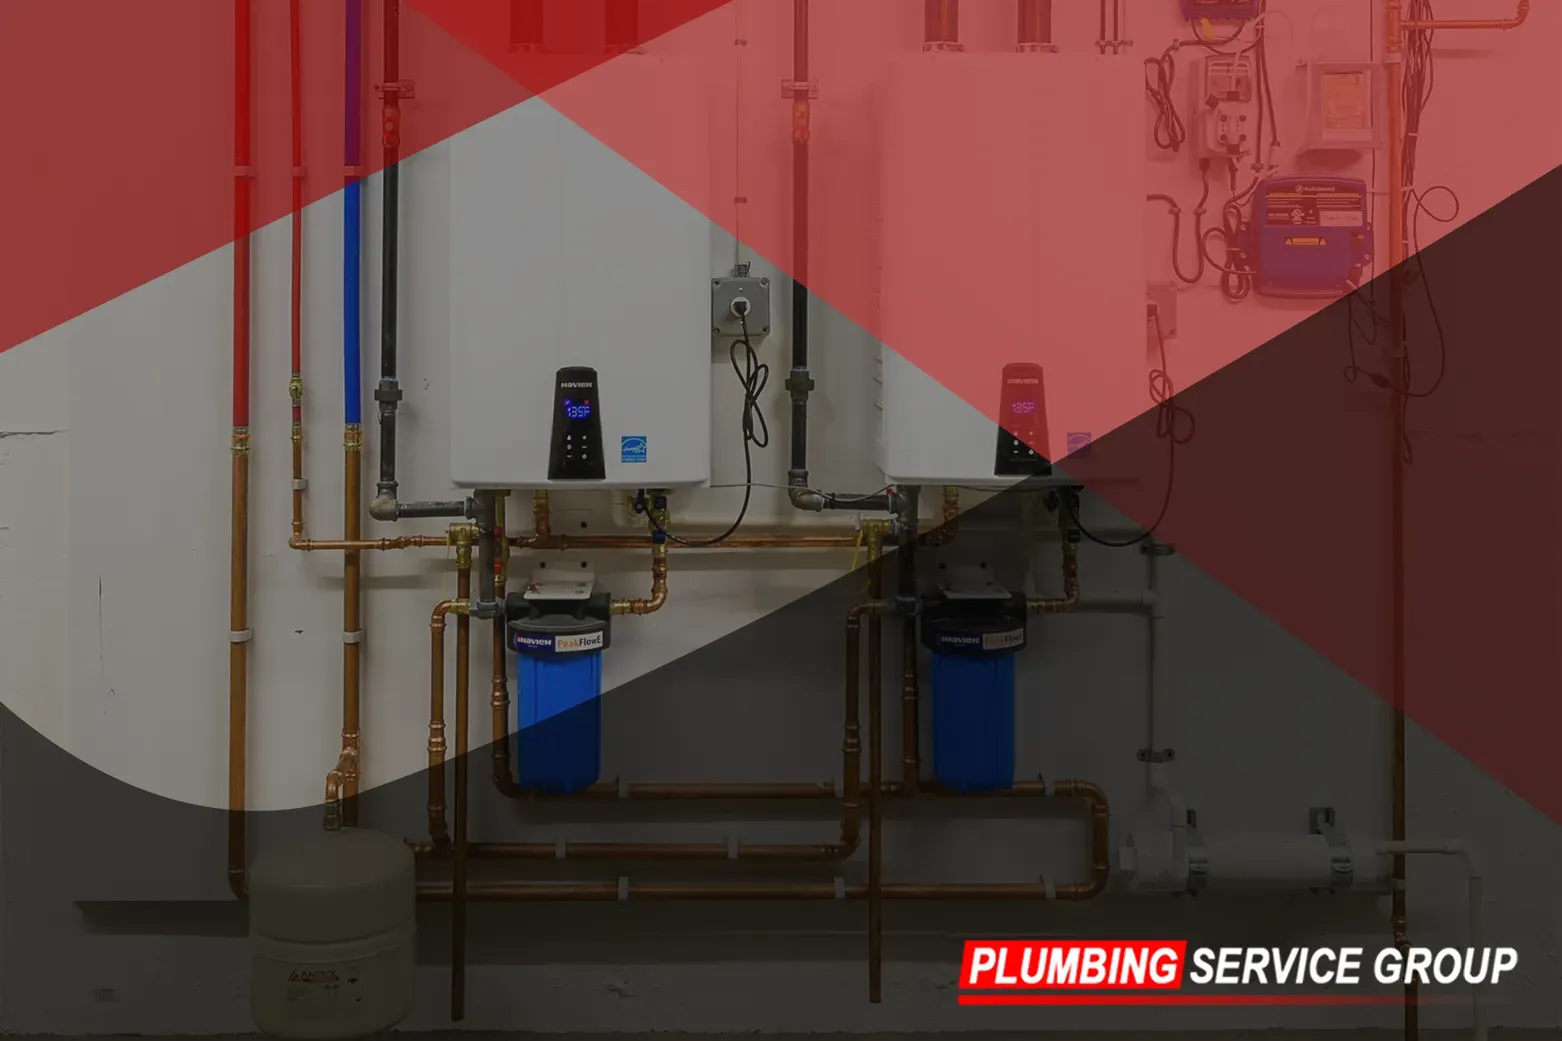
Step 3: Installing Water Supply Lines
Begin by shutting off the main water supply to your home to ensure safety and prevent any unexpected water flow during the installation process. This can usually be done by locating the main shut-off valve, typically found near the water meter or where the main water line enters your home. Once the water is shut off, open faucets in your home to drain any remaining water from the pipes.
Next, it's time to measure and cut the copper or PEX tubing for your water supply lines. Using a pipe cutter, carefully measure and mark the tubing to the appropriate lengths based on your layout plan. Ensure precision in your measurements to avoid any unnecessary waste or misalignment.
After cutting the tubing, use a deburring tool to remove any rough edges or burrs that may be present. This step is crucial for ensuring a proper seal and preventing leaks in your plumbing system.
Now comes the crucial part: attaching the tubing to the fixtures. Depending on your preference and the type of tubing you're using, you can opt for compression fittings or soldering techniques. Compression fittings are relatively straightforward and require no special tools, making them a popular choice for DIY enthusiasts. Simply slide the compression nut and ferrule onto the tubing, insert the tubing into the fitting, and tighten the nut securely with an adjustable wrench.
If you're comfortable with soldering, you can achieve a more permanent and secure connection using soldered copper fittings. Make sure to clean the ends of the tubing and fittings thoroughly, apply flux to the mating surfaces, and heat the joint evenly with a propane torch until the solder melts and forms a watertight seal.
Whichever method you choose, take your time and double-check all connections for tightness and proper alignment. Once everything is securely in place, you can turn the main water supply back on and test for any leaks. If everything looks good, pat yourself on the back for a job well done!
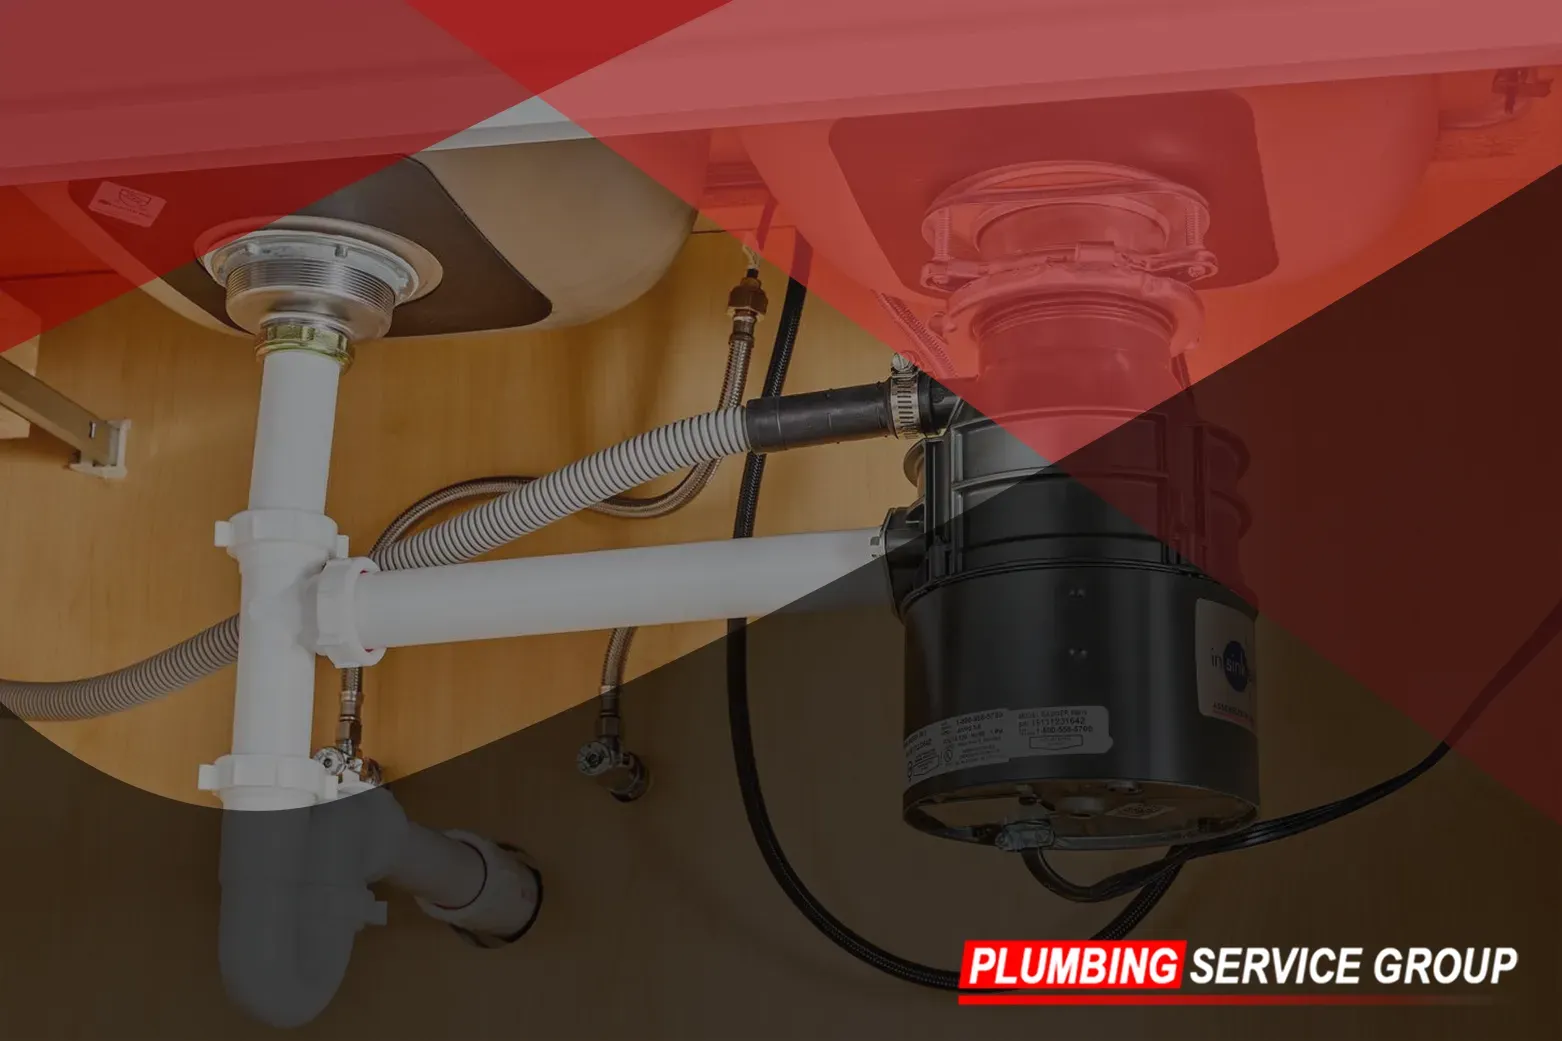
Step 4: Setting Up Drainage System
Proper drainage is the backbone of any functional plumbing system, especially in a bathroom where water usage is high. Start by referring to your layout plan to determine the optimal placement of PVC drain pipes for your sink, toilet, shower, and bathtub.
When installing PVC drain pipes, it's crucial to ensure proper slope for efficient water flow. The general rule of thumb is to maintain a slope of 1/4 inch per foot for horizontal runs, ensuring that wastewater drains away effectively without pooling or standing.
Secure the PVC pipes in place using pipe straps or hangers, making sure to provide adequate support and prevent sagging or misalignment. This step is essential for maintaining the integrity of your drainage system and preventing future issues such as clogs or leaks.
As you assemble the PVC pipes, be sure to use the plumber's tape to seal any connections and prevent leaks. Wrap the tape around the threads of each fitting before screwing them together, ensuring a tight and watertight seal.
Once the drainage system is in place, it's a good idea to perform a preliminary test by running water through the pipes and checking for any leaks or drainage issues. Address any problems promptly to ensure a smooth and efficient plumbing system for your bathroom.
Step 5: Installing Fixtures
With the plumbing rough-in complete, it's time to move on to the exciting part: installing your bathroom fixtures! Start with the sink, following the manufacturer's instructions for proper installation. This typically involves connecting the water supply lines and drain pipe to the sink basin, and securing everything in place with the provided hardware.
Next up is the toilet, arguably the most essential fixture in any bathroom. Begin by carefully placing the toilet in position over the drain flange, ensuring a tight seal between the base of the toilet and the floor. Use a wax ring or rubber gasket to create a watertight seal, and secure the toilet in place with bolts or screws provided with the toilet.
Finally, it's time to set up the shower or bathtub, depending on your bathroom layout and preferences. Install the shower valve and trim according to the manufacturer's instructions, making sure to test for proper function and water flow. If you're installing a bathtub, connect the drain and overflow assembly, ensuring a tight seal to prevent leaks.
Before sealing everything in place, it's crucial to test each fixture for leaks and proper function. Turn on the water supply and check for any drips or leaks around the connections. Additionally, test the drainage of the sink, toilet, and shower or bathtub to ensure everything flows smoothly.
Once you're satisfied with the installation and functionality of your bathroom fixtures, it's time to finish off with any final touches such as caulking around the edges or installing trim pieces. Step back and admire your handiwork – you've successfully installed your bathroom fixtures like a pro!
Step 6: Testing and Inspection
Before you wrap up your bathroom plumbing project, it's essential to conduct thorough testing and inspection to ensure everything is in proper working order. Start by turning on the main water supply and checking each fixture for leaks or drips. Pay close attention to connections and joints, tightening as needed to prevent any potential issues.
Once you've confirmed that there are no leaks, it's time to test the functionality of each fixture. Run water through the sink, flush the toilet, and test the shower or bathtub to ensure everything is operating as expected. Keep an eye out for any unusual noises or slow drainage, as these could indicate underlying issues that need to be addressed.
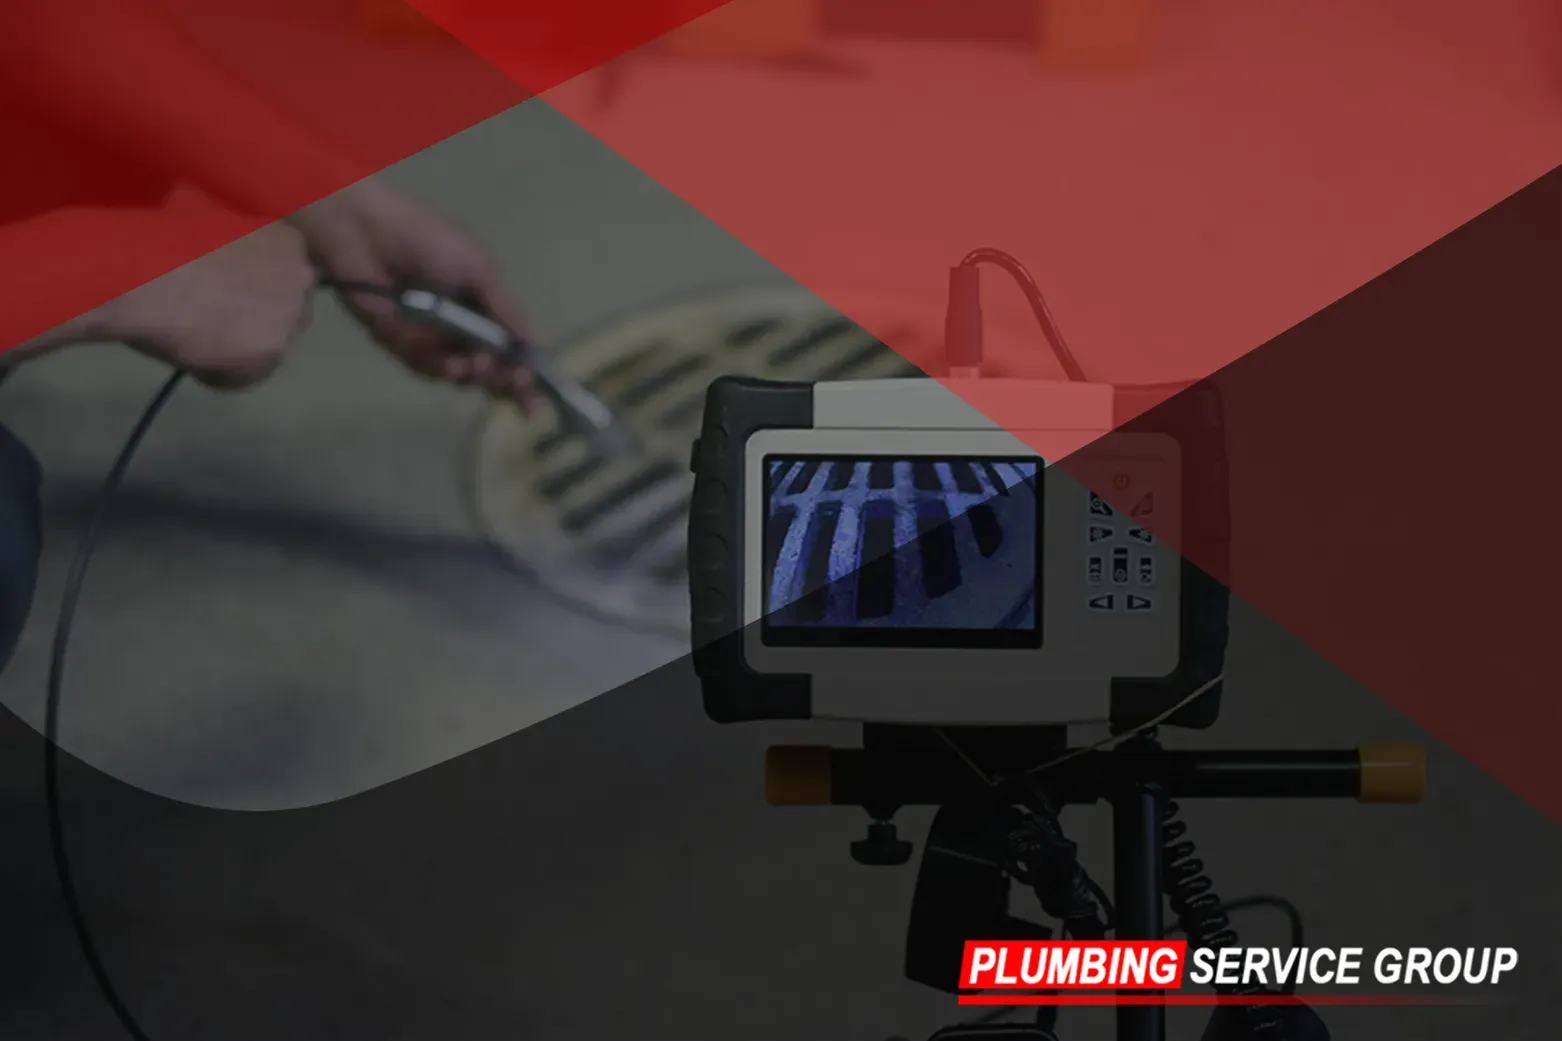
In addition to testing the fixtures, consider scheduling a professional inspection to ensure your plumbing meets all building codes and regulations. A licensed plumber can provide valuable feedback and identify any potential issues that may have been overlooked during the installation process.
By conducting thorough testing and inspection, you can rest assured knowing that your new bathroom plumbing system is safe, efficient, and built to last. With proper maintenance and care, your newly plumbed bathroom will provide you and your family with years of comfort and enjoyment.
Congratulations, you've successfully plumbed a bathroom from start to finish! By following our step-by-step guide and tips, you've tackled one of the most important aspects of any home improvement project. Remember, proper planning, preparation, and attention to detail are key to achieving professional-quality results. If you ever encounter any plumbing challenges along the way, don't hesitate to reach out to Plumbing Service Group for expert assistance. Happy plumbing!