How to Install a Toilet?
Installing a toilet may seem like a daunting task, but with the right guidance and expertise, you can tackle this project confidently. As a leading provider of plumbing services, Plumbing Service Group is here to provide a comprehensive guide to installing a toilet. From preparation and assembly to final adjustments, we'll walk you through each step of the process, ensuring a successful installation that meets your expectations. Let's dive into the essential steps for installing a toilet with precision and efficiency.
Step-by-Step Guide to Installing a Toilet
Gather Your Tools and Materials:
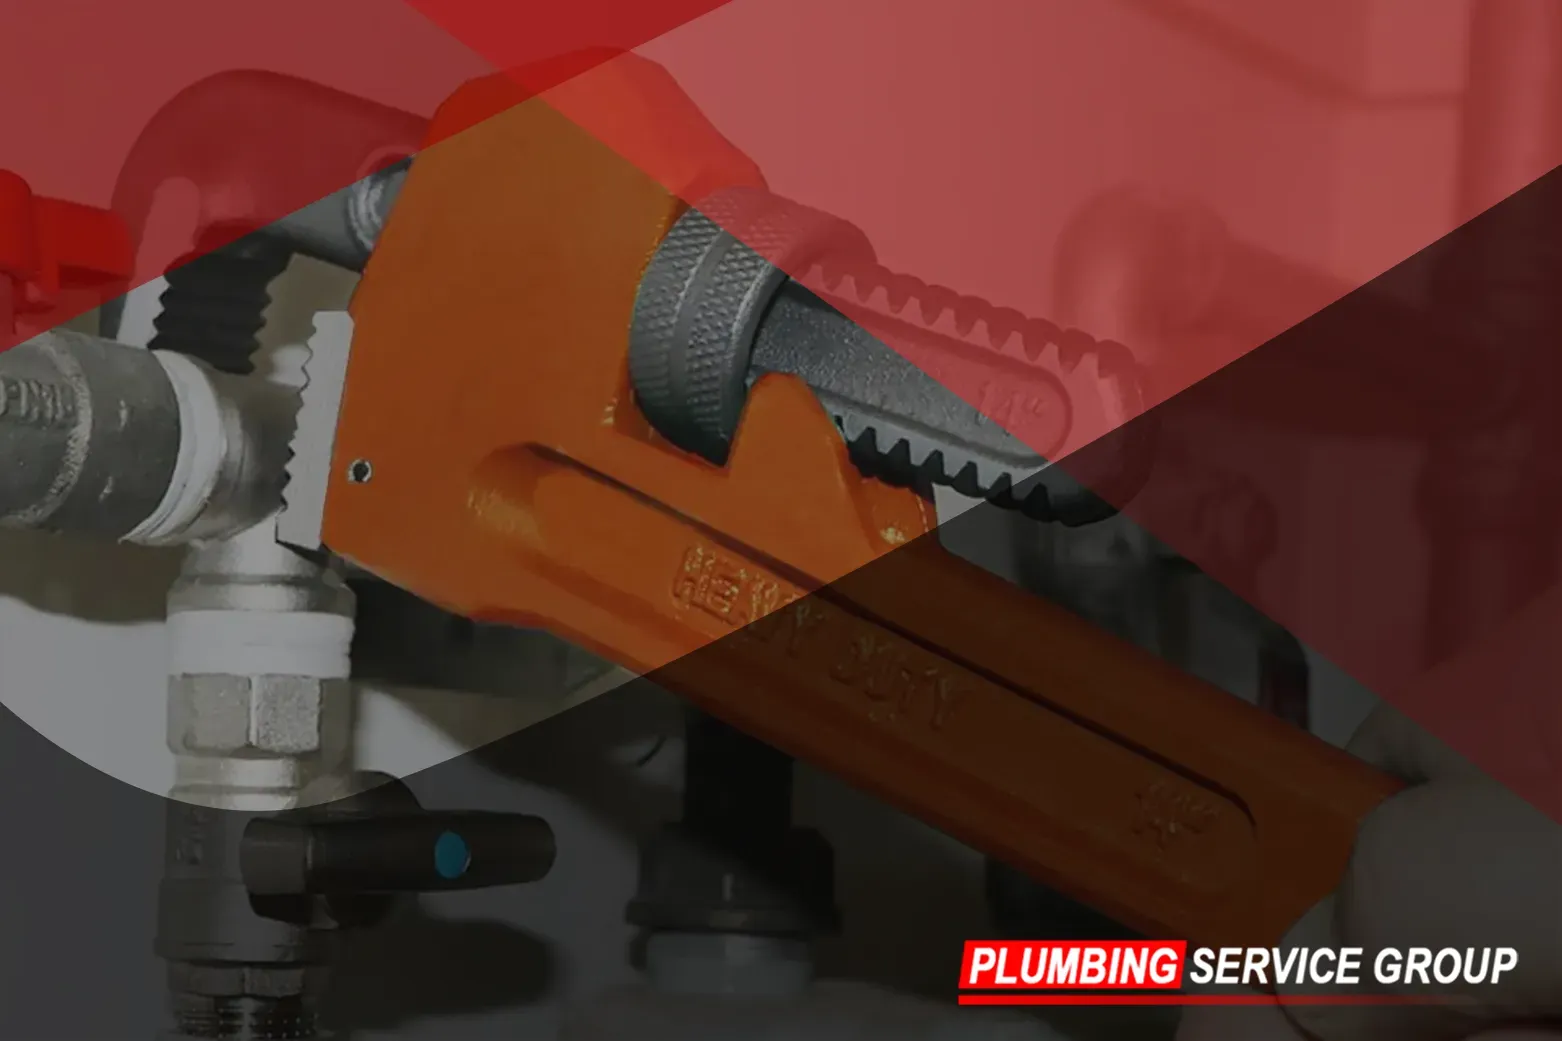
Before diving into the installation process, it's essential to gather all the necessary tools and materials to ensure a smooth and efficient workflow. Make sure you have a new toilet, a wax ring, closet bolts, an adjustable wrench, a screwdriver, a level, measuring tape, and safety gloves on hand. Having these items readily available will save you time and prevent interruptions during the installation process, allowing you to complete the task with confidence and precision.
Prepare the Installation Area:
Begin by shutting off the water supply to the existing toilet and removing the old fixture. Thoroughly clean the flange and the surrounding floor surface to create a clean and stable base for the new toilet. Take this opportunity to inspect the flange for any signs of damage or corrosion. If any issues are detected, address them promptly by making necessary repairs or replacements before proceeding with the installation.
Install the Wax Ring:
With the installation area prepared, it's time to install the wax ring, a crucial component that creates a watertight seal between the toilet and the waste pipe. Place the wax ring onto the flange, ensuring it is centered and seated securely. The proper positioning of the wax ring is essential to prevent leaks and odors. Once the wax ring is in place, carefully lower the toilet bowl onto the flange, aligning it with the closet bolts protruding from the floor.
Secure the Toilet Bowl:
Once the toilet bowl is correctly positioned, it's time to secure it to the floor. Begin by tightening the nuts onto the closet bolts using an adjustable wrench. Be careful not to over-tighten the nuts, as this could potentially damage the porcelain or the flange. After securing the toilet bowl, check for stability and adjust as needed to ensure it sits level and does not wobble.
Attach the Tank:
With the toilet bowl securely in place, proceed to install the toilet tank onto the bowl. Align the tank bolts with the corresponding holes in the bowl and place a rubber washer and nut onto each bolt. Use a screwdriver or wrench to tighten the nuts securely, ensuring a snug fit. Once the tank is attached, connect the water supply line to the tank fill valve, making sure it is tight to prevent any potential leaks.
Test for Leaks and Adjustments:
After completing the installation, it's crucial to test the toilet for any leaks and make any necessary adjustments. Turn on the water supply and allow the tank to fill. Check for leaks around the base of the toilet and at the connections. If any leaks are detected, tighten the nuts or connections as needed to stop the leakage. Additionally, use a level to ensure the toilet bowl is still sitting evenly, and make any adjustments to the closet bolts if necessary to achieve a stable and level installation.
By following these step-by-step instructions, you can install a toilet with confidence and precision. However, if you encounter any difficulties or prefer to leave the installation to the professionals, Plumbing Service Group is here to help. Our team of experienced plumbers has the expertise and tools necessary to ensure a
seamless toilet installation, saving you time and hassle. Contact us today to schedule an installation appointment and enjoy a newly installed toilet in your home.

