How to Install a Kitchen Faucet Like a Pro?
Welcome to Plumbing Service Group's expert guide on how to install a kitchen faucet with confidence and precision. Whether you're upgrading your kitchen's aesthetic or replacing a worn-out fixture, proper installation is essential for ensuring functionality and longevity. In this comprehensive guide, we'll walk you through the step-by-step process of installing a kitchen faucet like a seasoned professional, complete with tips, tricks, and insights to help you achieve a flawless result.
Step-by-Step Process of How to Install a Kitchen Faucet
Step 1: Gather Your Tools and Materials
Before you begin the installation process, it's crucial to gather all the necessary tools and materials:
- New Kitchen Faucet: Choose a high-quality faucet that fits your kitchen's style and meets your functional needs. Consider factors such as spout height, handle configuration, and finish options.
- Adjustable Wrench
- Basin Wrench
- Plumber's Tape (Teflon Tape)
- Towels or Rags
- Bucket or Container (to catch water)
- Safety Glasses
- Flashlight (optional, for better visibility in tight spaces)
Step 2: Prepare the Work Area
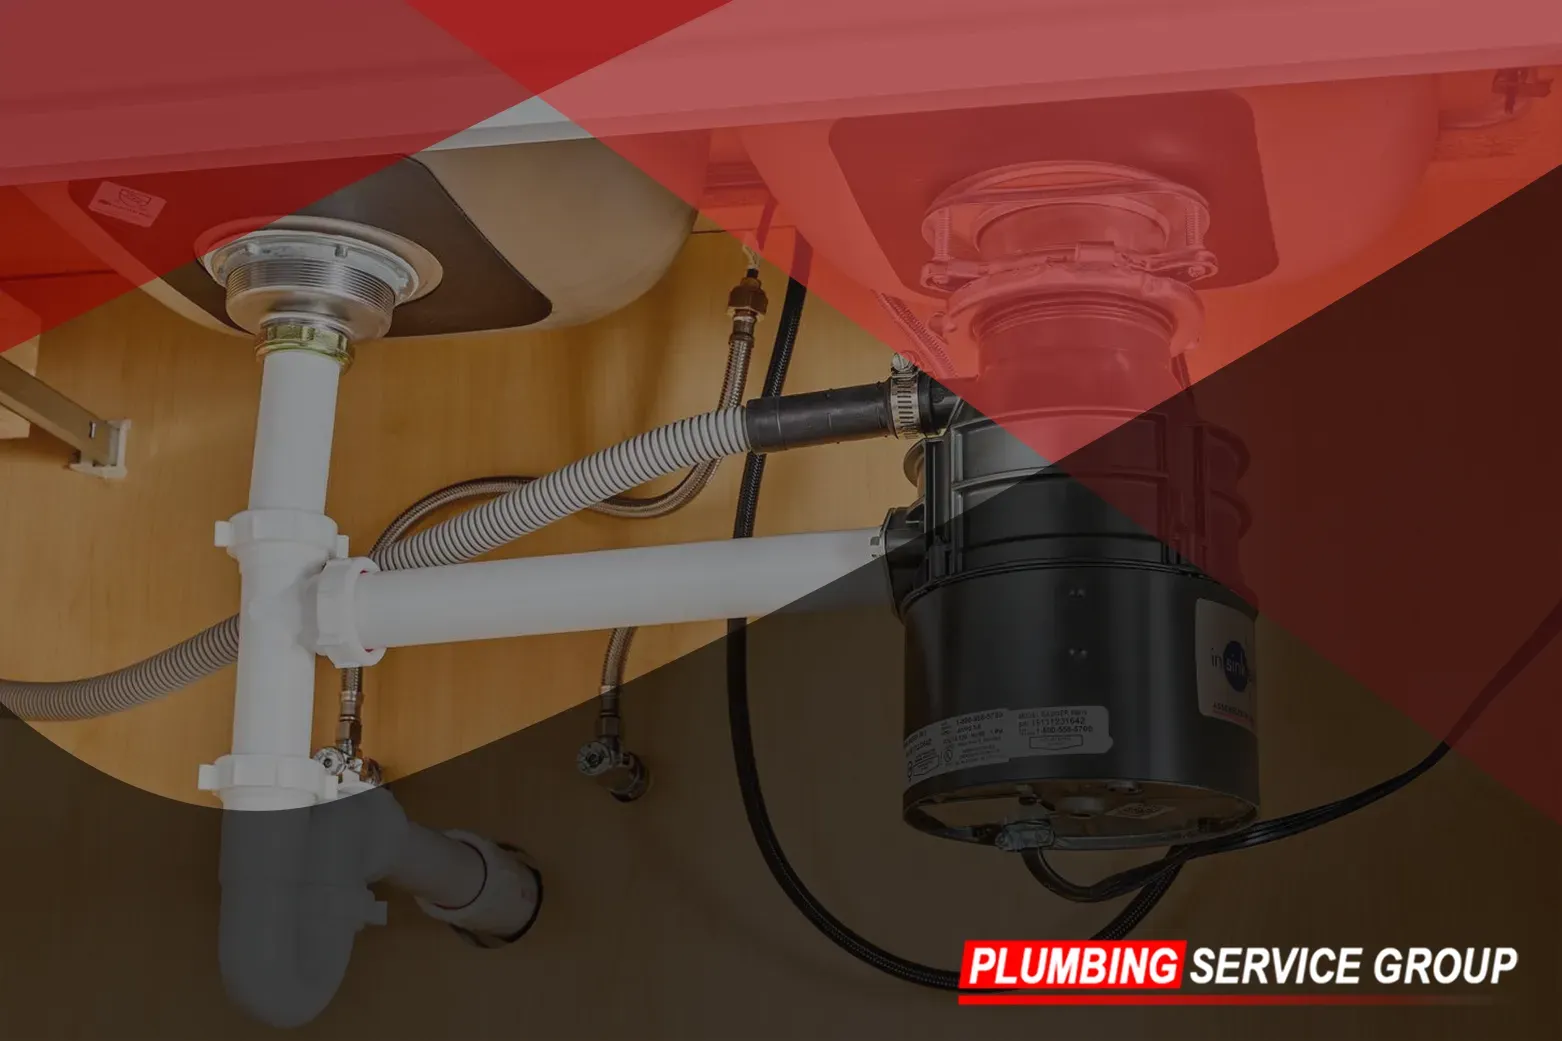
Clear out the area under the sink to provide ample space for maneuvering and working comfortably. Lay down towels or rags to protect the cabinet floor from water damage and scratches. Turn off the water supply valves located beneath the sink and open the faucet to release any remaining water in the lines. Use a bucket or container to catch any water that may drain from the pipes.
Step 3: Remove the Old Faucet (if applicable)
If you're replacing an existing kitchen faucet, start by disconnecting the supply lines and removing the mounting nuts securing the faucet to the sink or countertop. Use an adjustable wrench to loosen the nuts and a basin wrench to access hard-to-reach areas. Once the old faucet is detached, clean the mounting surface thoroughly to ensure a secure fit for the new faucet.
Step 4: Install the New Faucet
Begin by installing the new faucet according to the manufacturer's instructions. Carefully unpack the faucet and familiarize yourself with its components and assembly process. Insert the faucet's base or deck plate through the mounting holes in the sink or countertop, ensuring a snug fit. Position the faucet so that it aligns properly with the sink's configuration and any additional accessories, such as soap dispensers or side sprayers. Once in position, secure the faucet in place using the mounting nuts provided, tightening them with an adjustable wrench or basin wrench. Be mindful not to over-tighten the nuts, as this could damage the faucet or the mounting surface.
Step 5: Connect the Supply Lines
Once the faucet is securely mounted, it's time to connect the supply lines to the corresponding hot and cold water valves beneath the sink. Before connecting the supply lines, inspect them for any signs of wear, corrosion, or damage. If necessary, replace old supply lines with new ones to ensure optimal performance and prevent leaks. Apply the plumber's tape (Teflon tape) to the threads of the supply line connections to create a tight seal and prevent leaks. Carefully thread the supply lines onto the hot and cold water valves, taking care not to cross-thread the fittings. Use an adjustable wrench to tighten the connections securely, but avoid over-tightening, as this could damage the fittings or cause leaks.
Step 6: Test for Leaks and Functionality
With the supply lines connected, it's time to test the faucet for leaks and proper functionality. Slowly turn on the water supply valves beneath the sink and allow water to flow into the faucet. Keep a close eye on the connections and handle for any signs of dripping or pooling water, which could indicate a leak. Additionally, check the base of the faucet and around the handle for any leaks or water seepage. Operate the faucet handles and, if applicable, the sprayer, to ensure smooth water flow and accurate temperature control. Test both hot and cold water settings to confirm that the faucet functions as intended. If you notice any leaks or issues during testing, turn off the water supply valves immediately and inspect the connections for tightness and proper sealing. Make any necessary adjustments to address leaks or issues before proceeding.
Step 7: Finishing Touches
Once you've confirmed that the faucet is installed correctly and functioning properly, tidy up the work area and clean any debris or excess plumber's tape. Reassemble the items stored under the sink and dispose of any old faucet components or packaging materials responsibly. Enjoy your newly installed kitchen faucet and the enhanced functionality and style it brings to your kitchen space!
By following this expert guide from Plumbing Service Group, you can confidently install a kitchen faucet with professional-level precision and efficiency. Remember to take your time, follow the manufacturer's instructions carefully, and prioritize safety throughout the installation process. If you encounter any challenges or have questions along the way, don't hesitate to reach out to our team of plumbing experts for assistance. Happy installing!

